For Wolfia/Salesforce integration, service account based authentication is the preferred method. Other authentication methods are currently not supported.
Overview
The Salesforce integration allows Wolfia to sync customer information with your Salesforce instance. This integration enables bidirectional data flow for accounts, opportunities, and leads to provide rich context when responding to security questionnaires and RFPs, while also updating Salesforce with relevant information.What we sync
- Accounts – Company details and information (read and write)
- Opportunities – Deal data and metadata (read and write)
- Leads – Prospect information and status (read and write)
Prerequisites
Before setting up the integration, you’ll need:- Admin access to your Salesforce instance
- Ability to create permission sets and users in Salesforce
Setup instructions
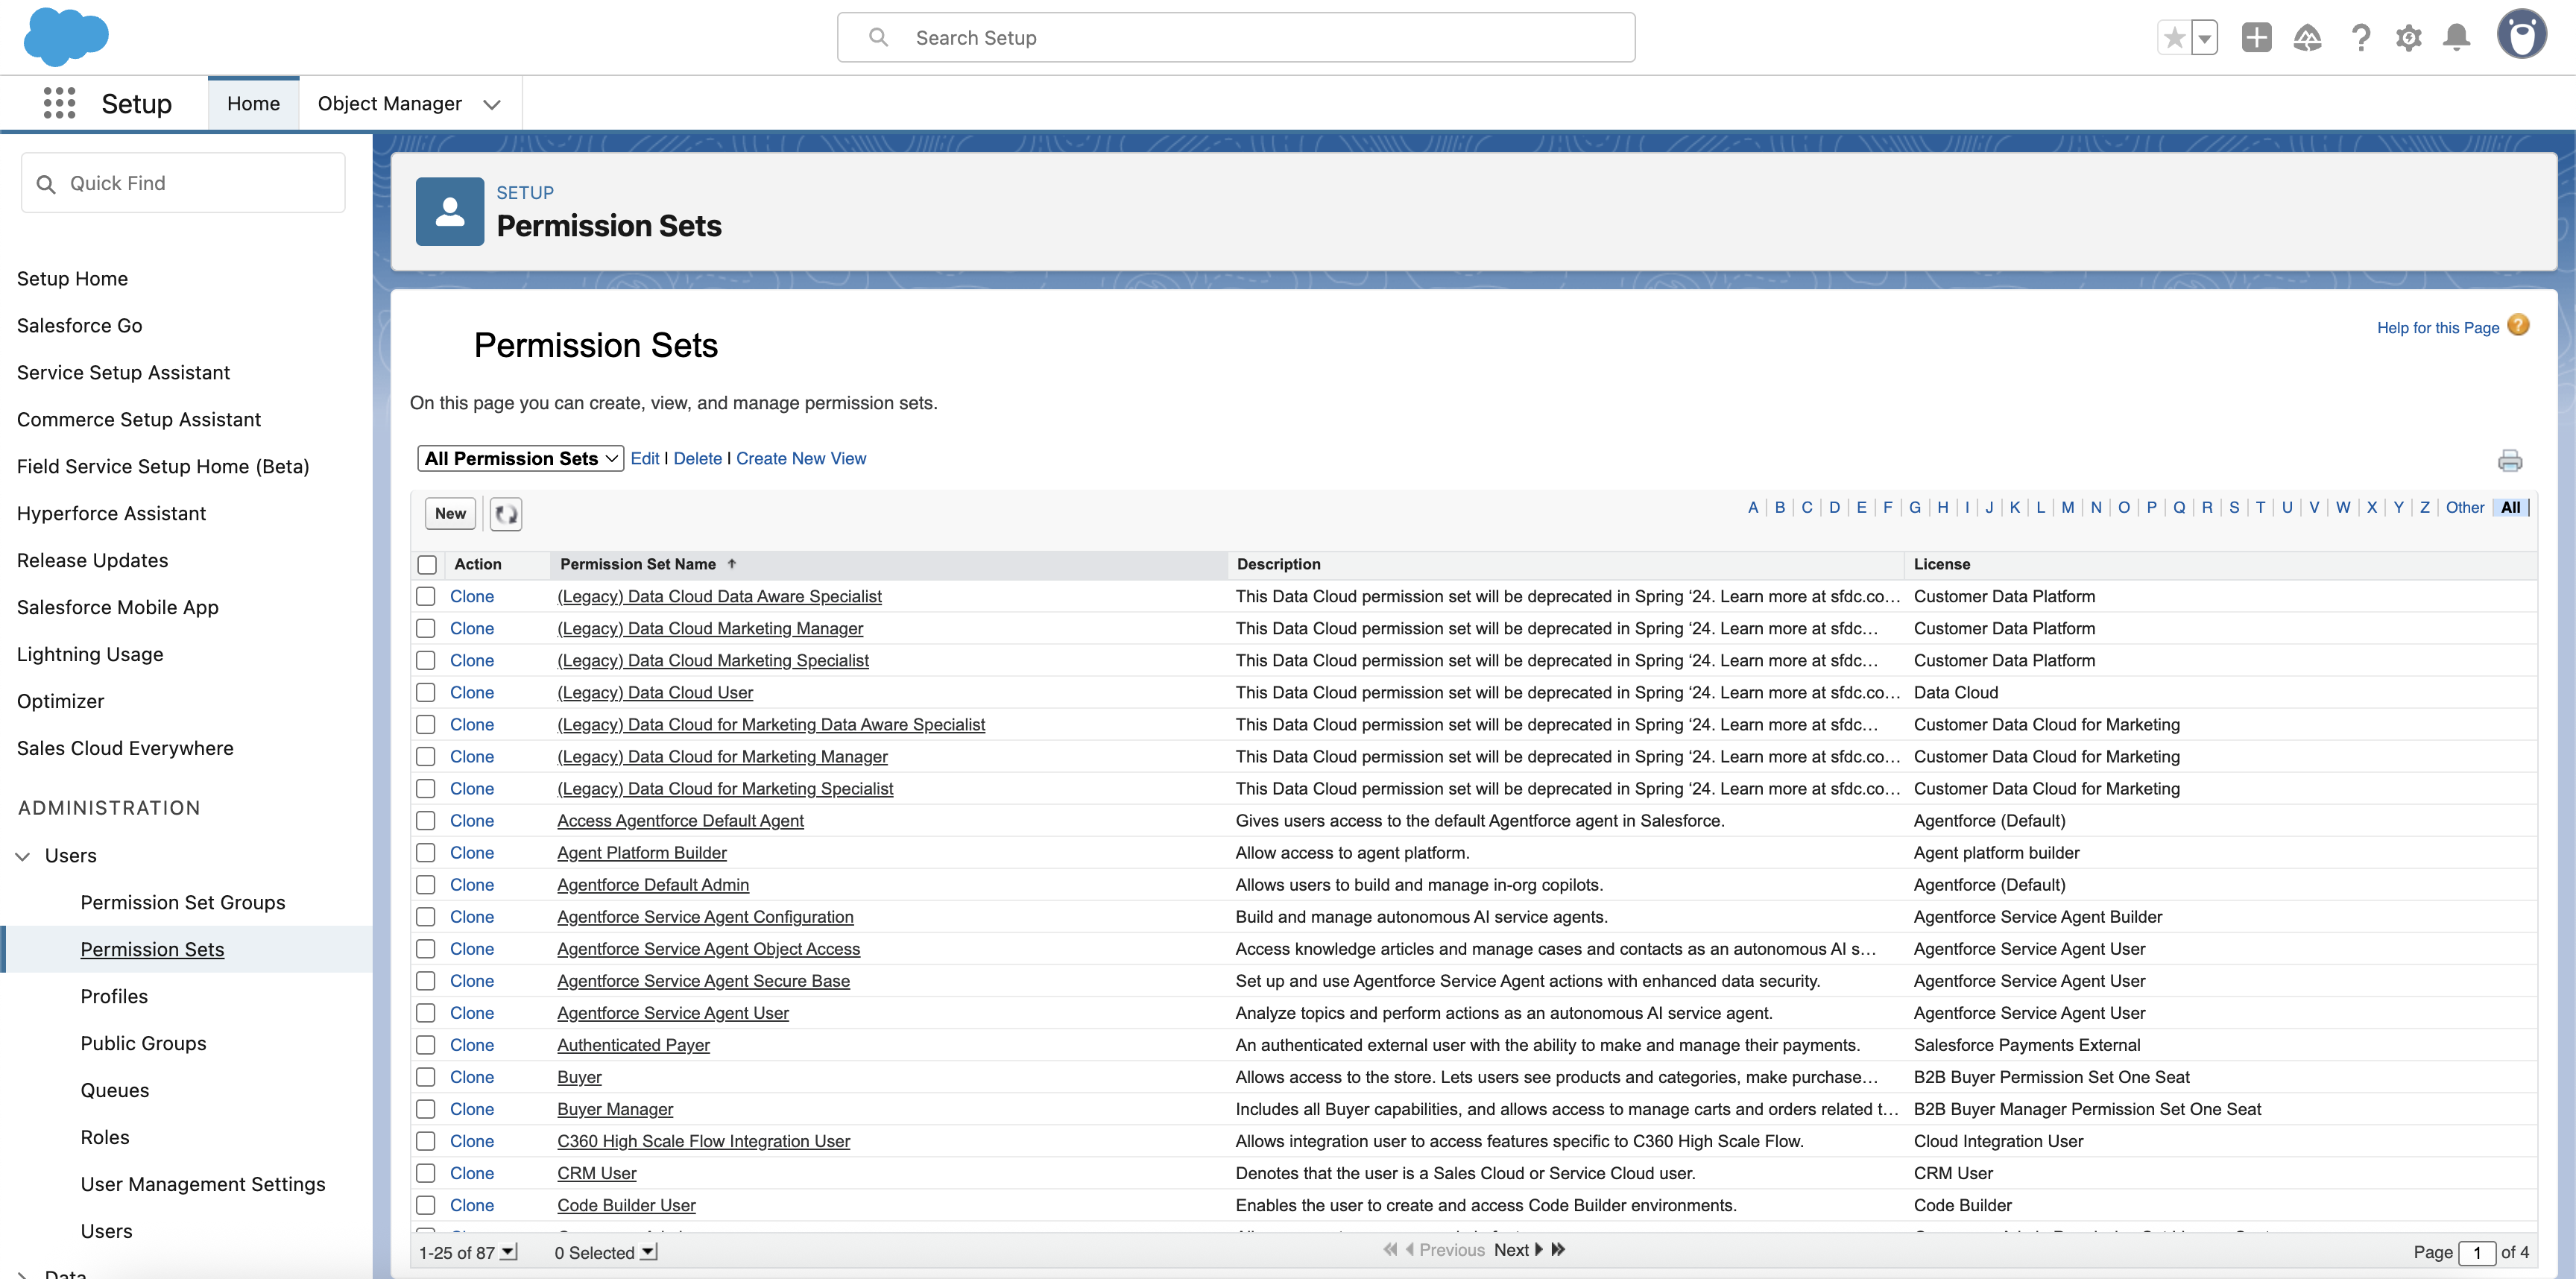
Step 1: Create a permission set
First, we’ll create a dedicated permission set for the Wolfia integration with the necessary read and write permissions.- Navigate to Setup → Users → Permission Sets
-
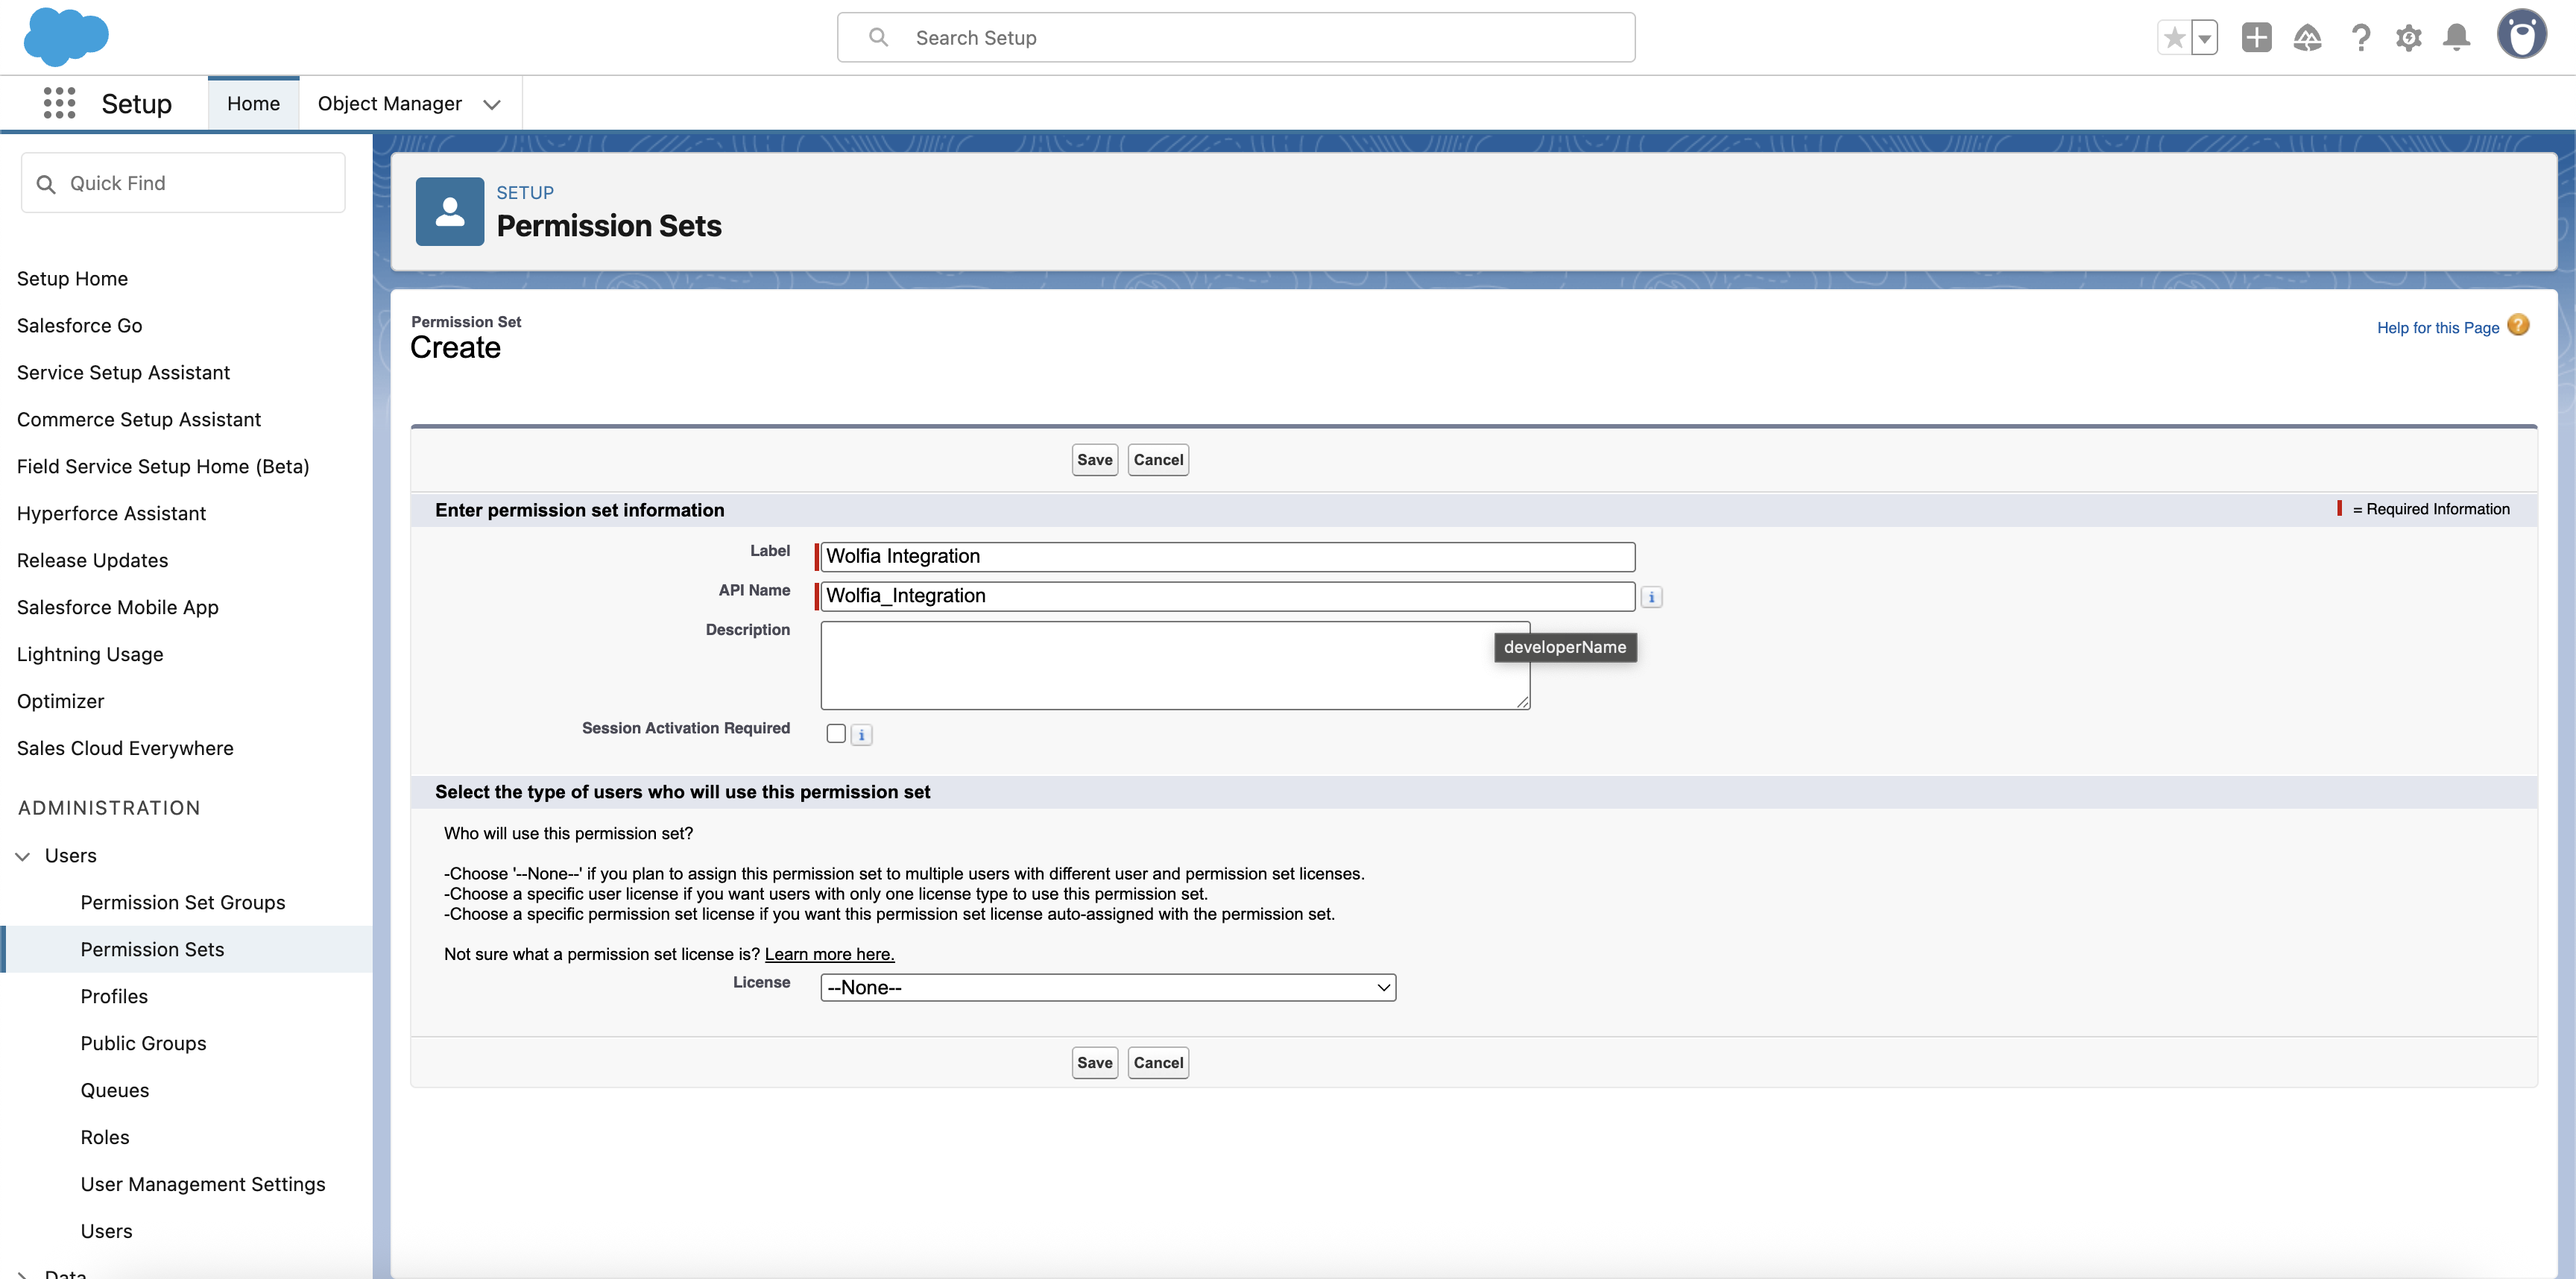
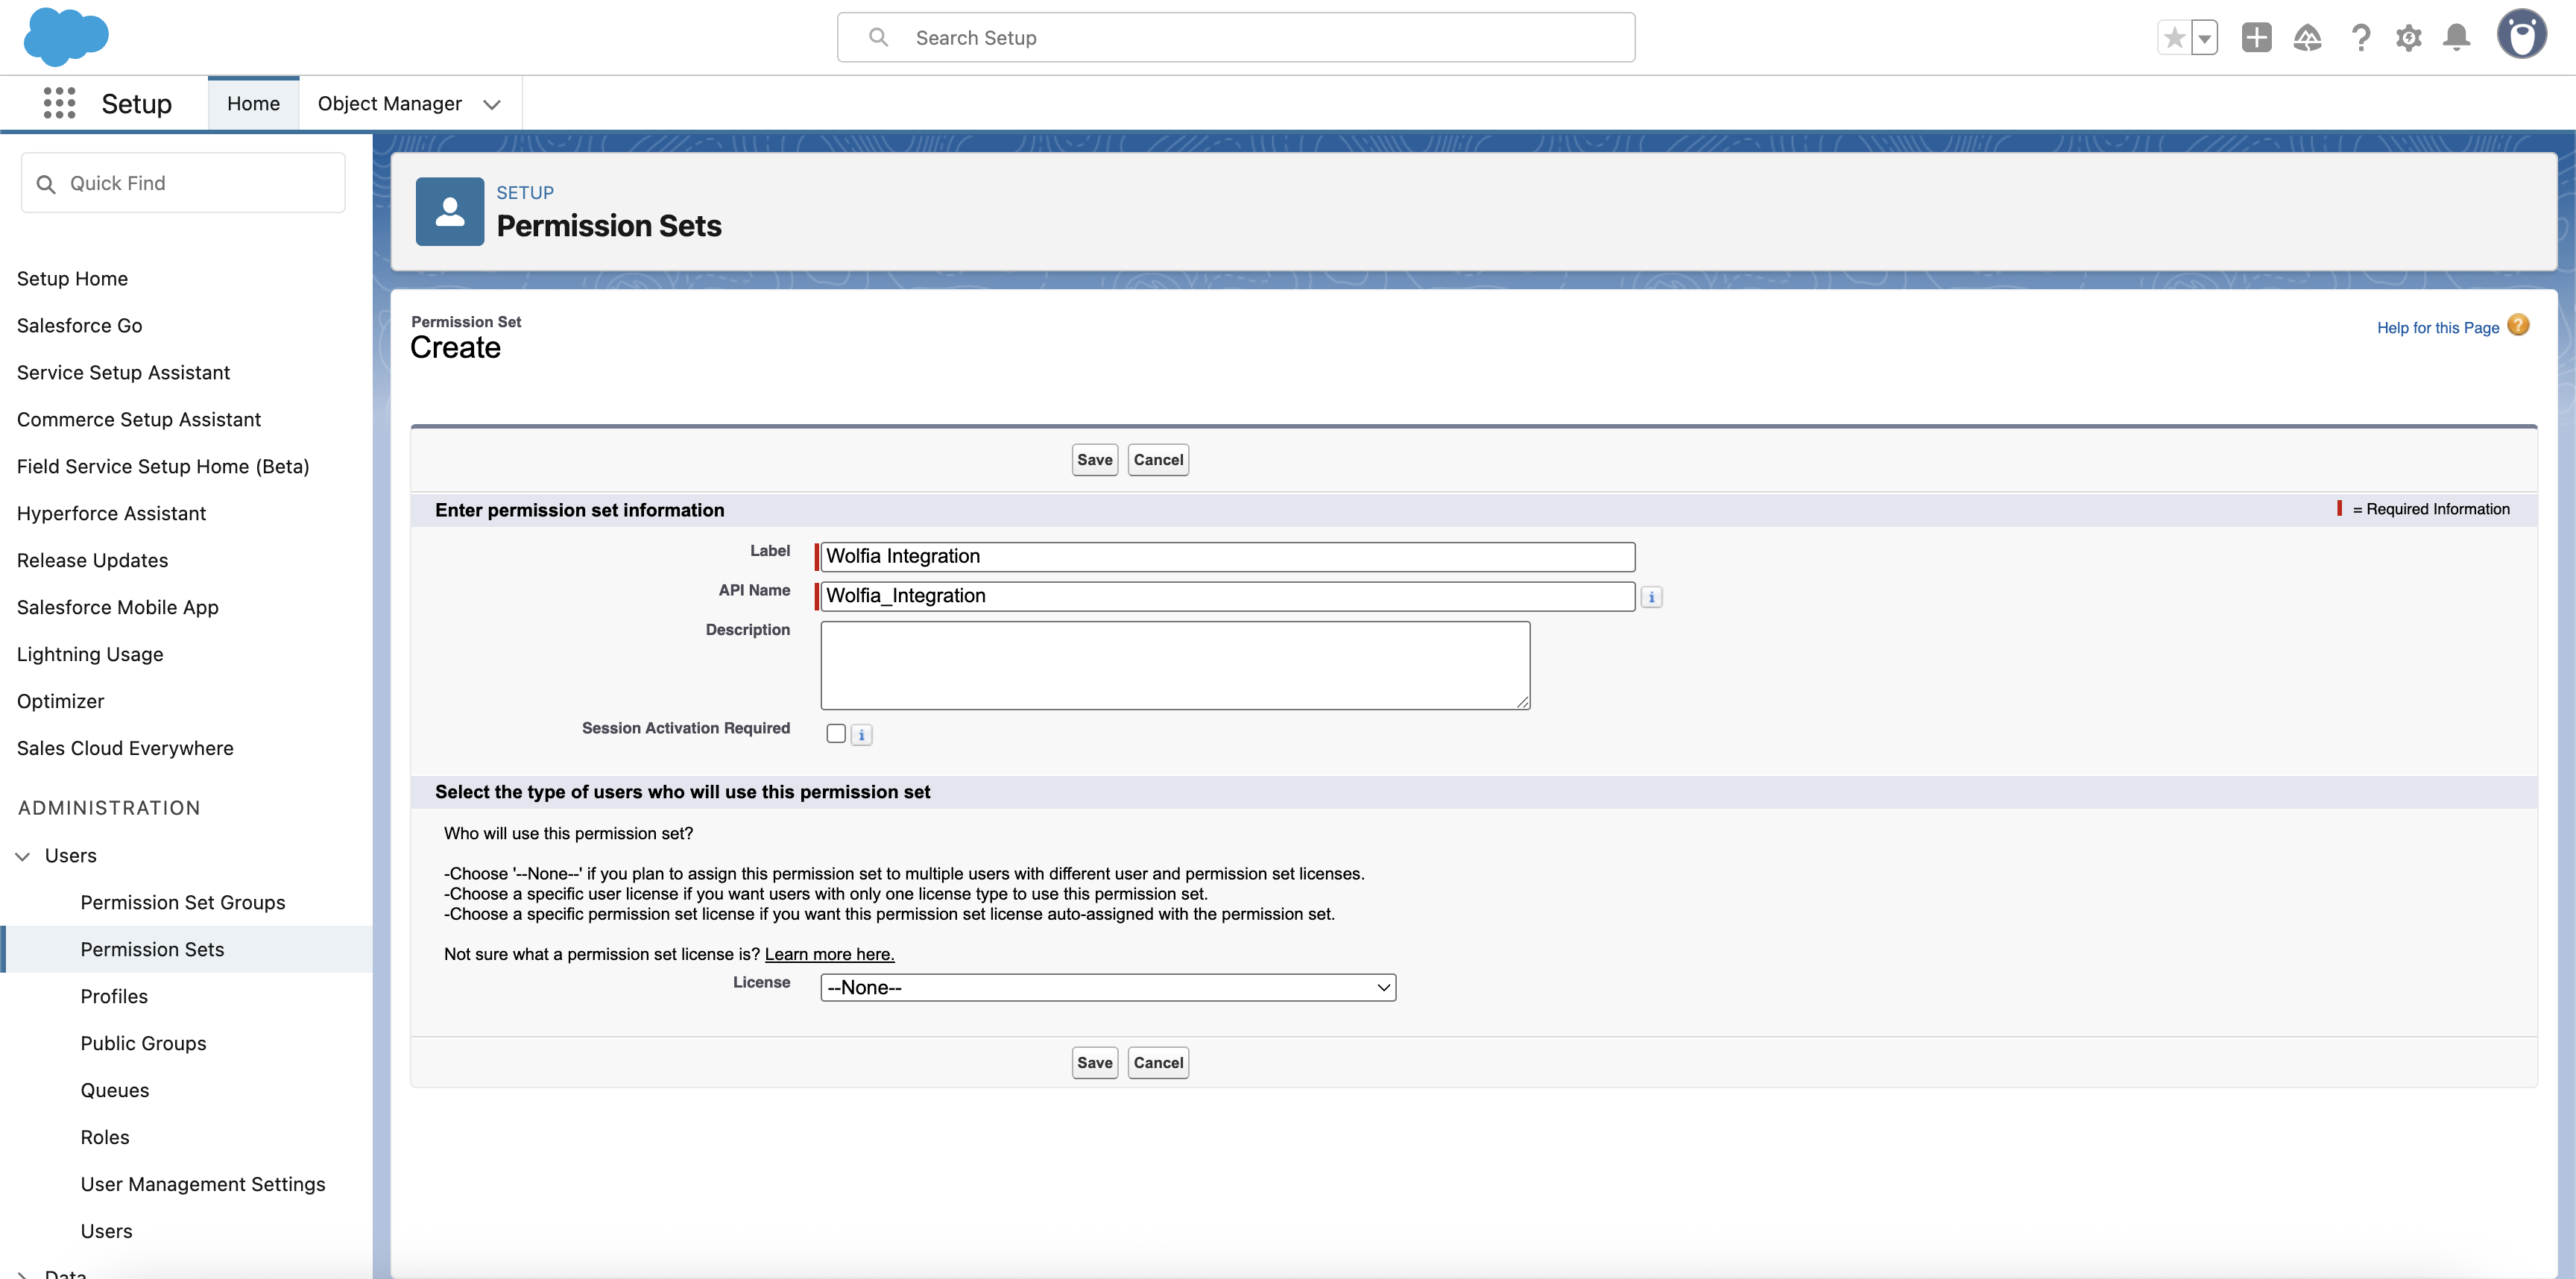
Click New to create a new permission set
-
Fill in the following details:
- Label:
Wolfia Integration - API Name: Will auto-populate
- Leave other fields as default
- Label:
-
Click Save to create the permission set
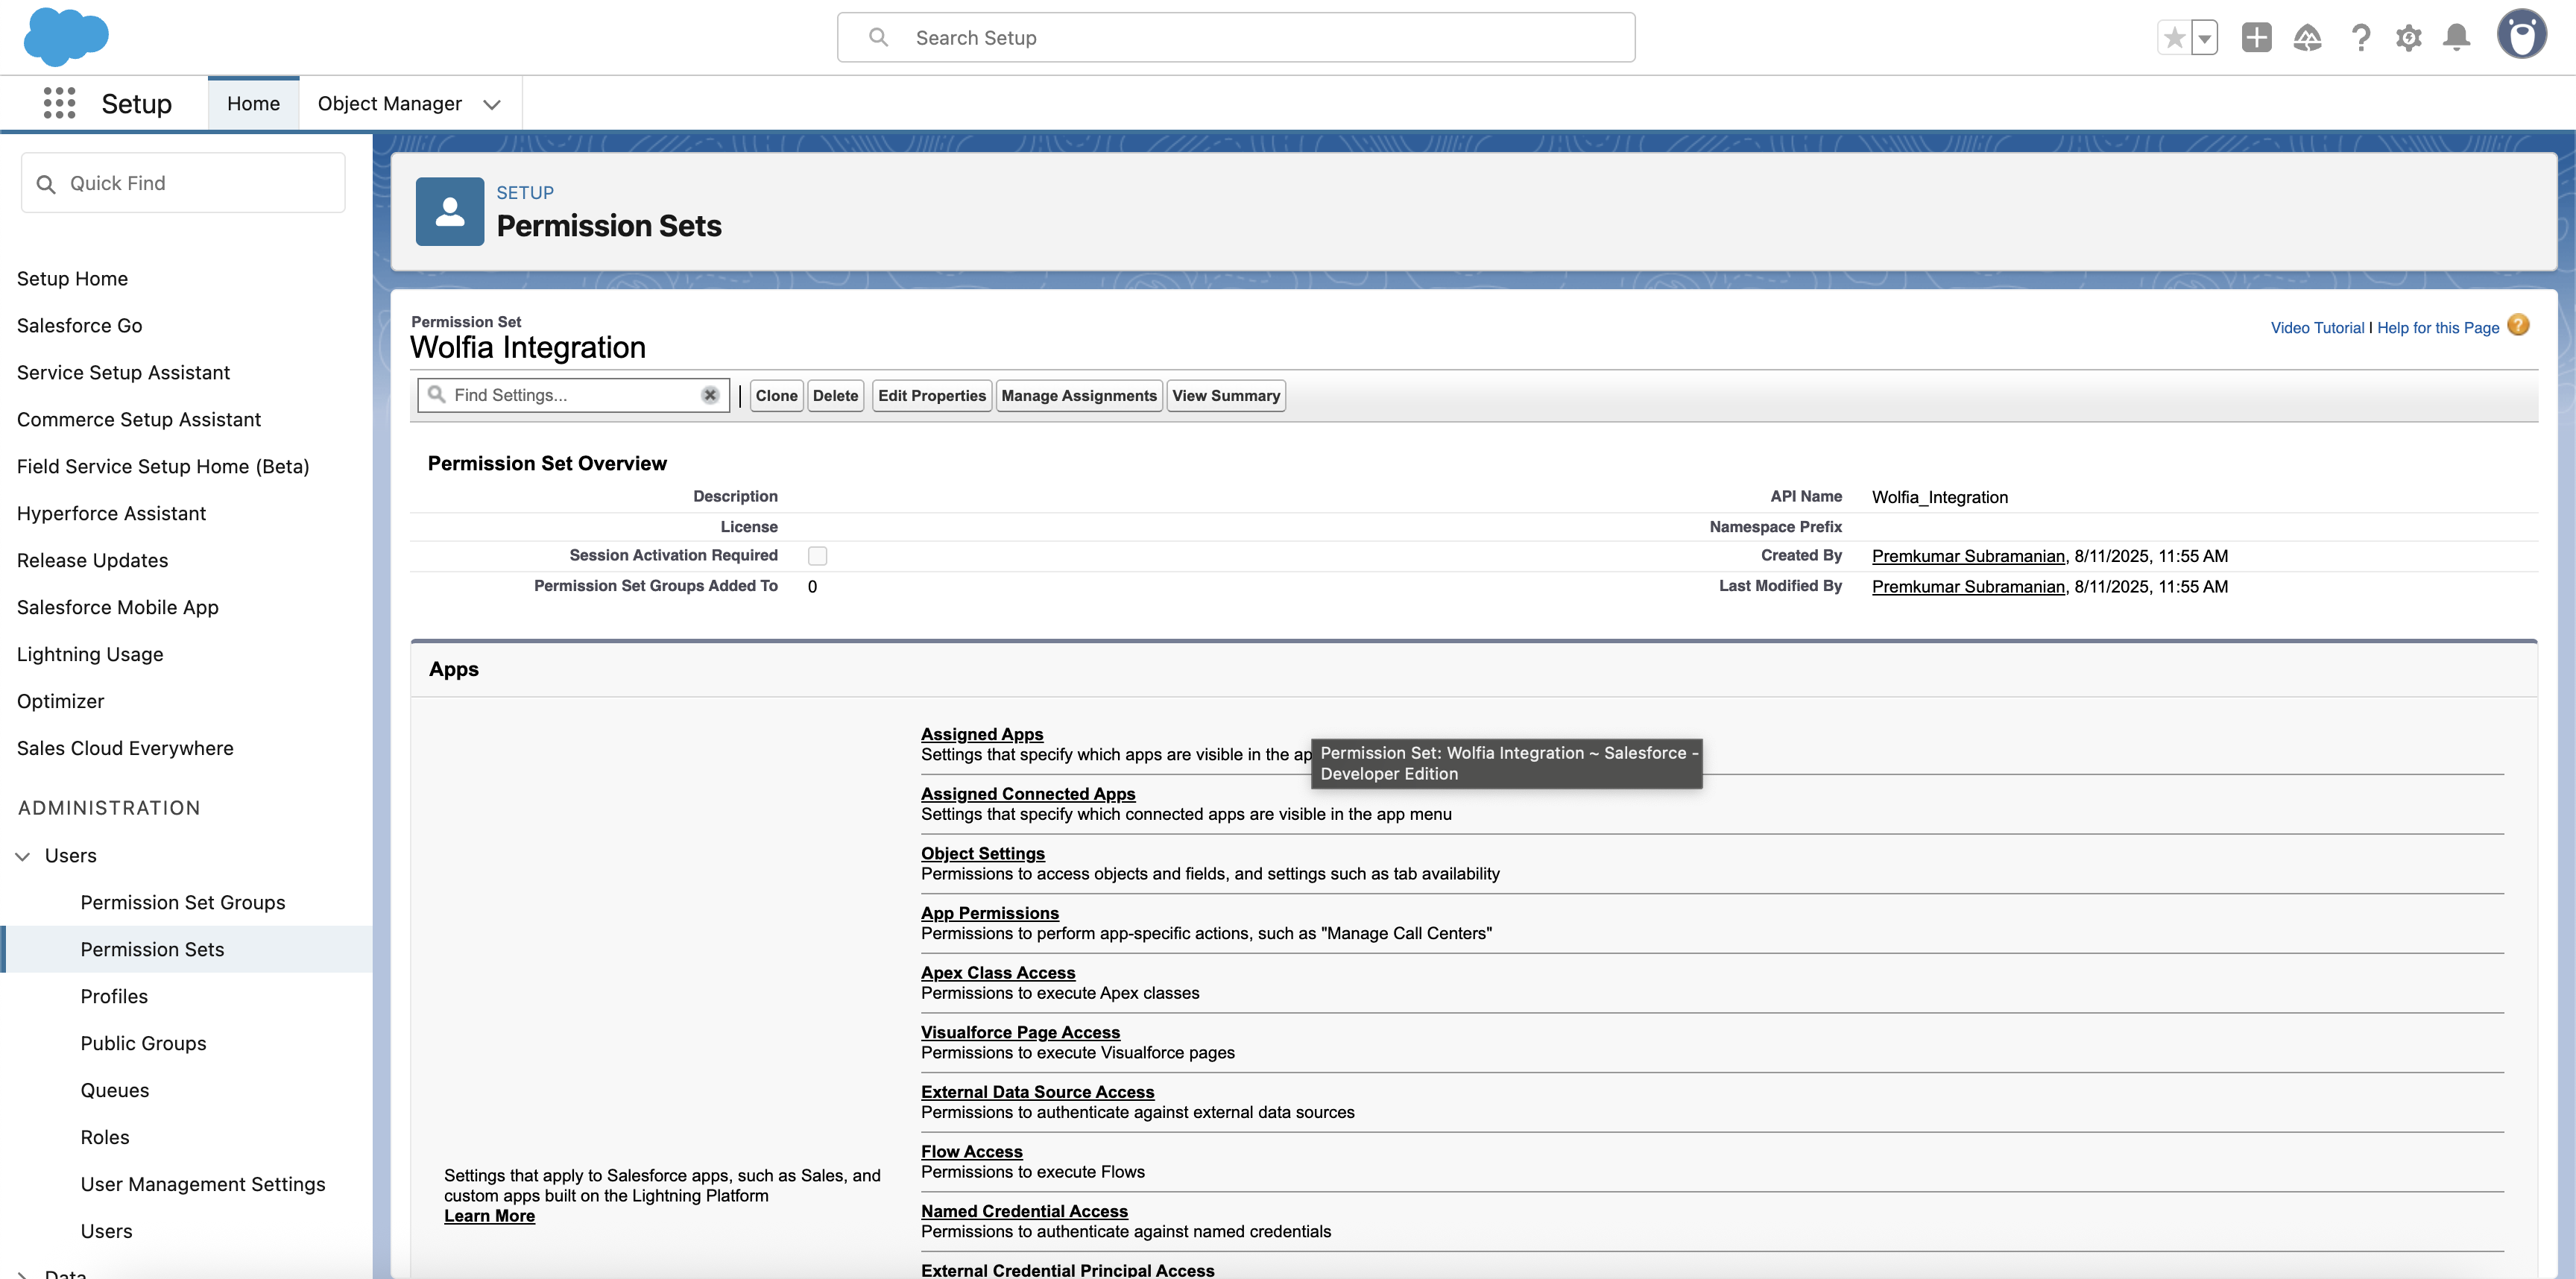
Step 2: Configure object permissions
Now we’ll grant the necessary permissions for Accounts, Opportunities, and Leads.-
In the permission set, navigate to Object Settings
-
Select Accounts from the list
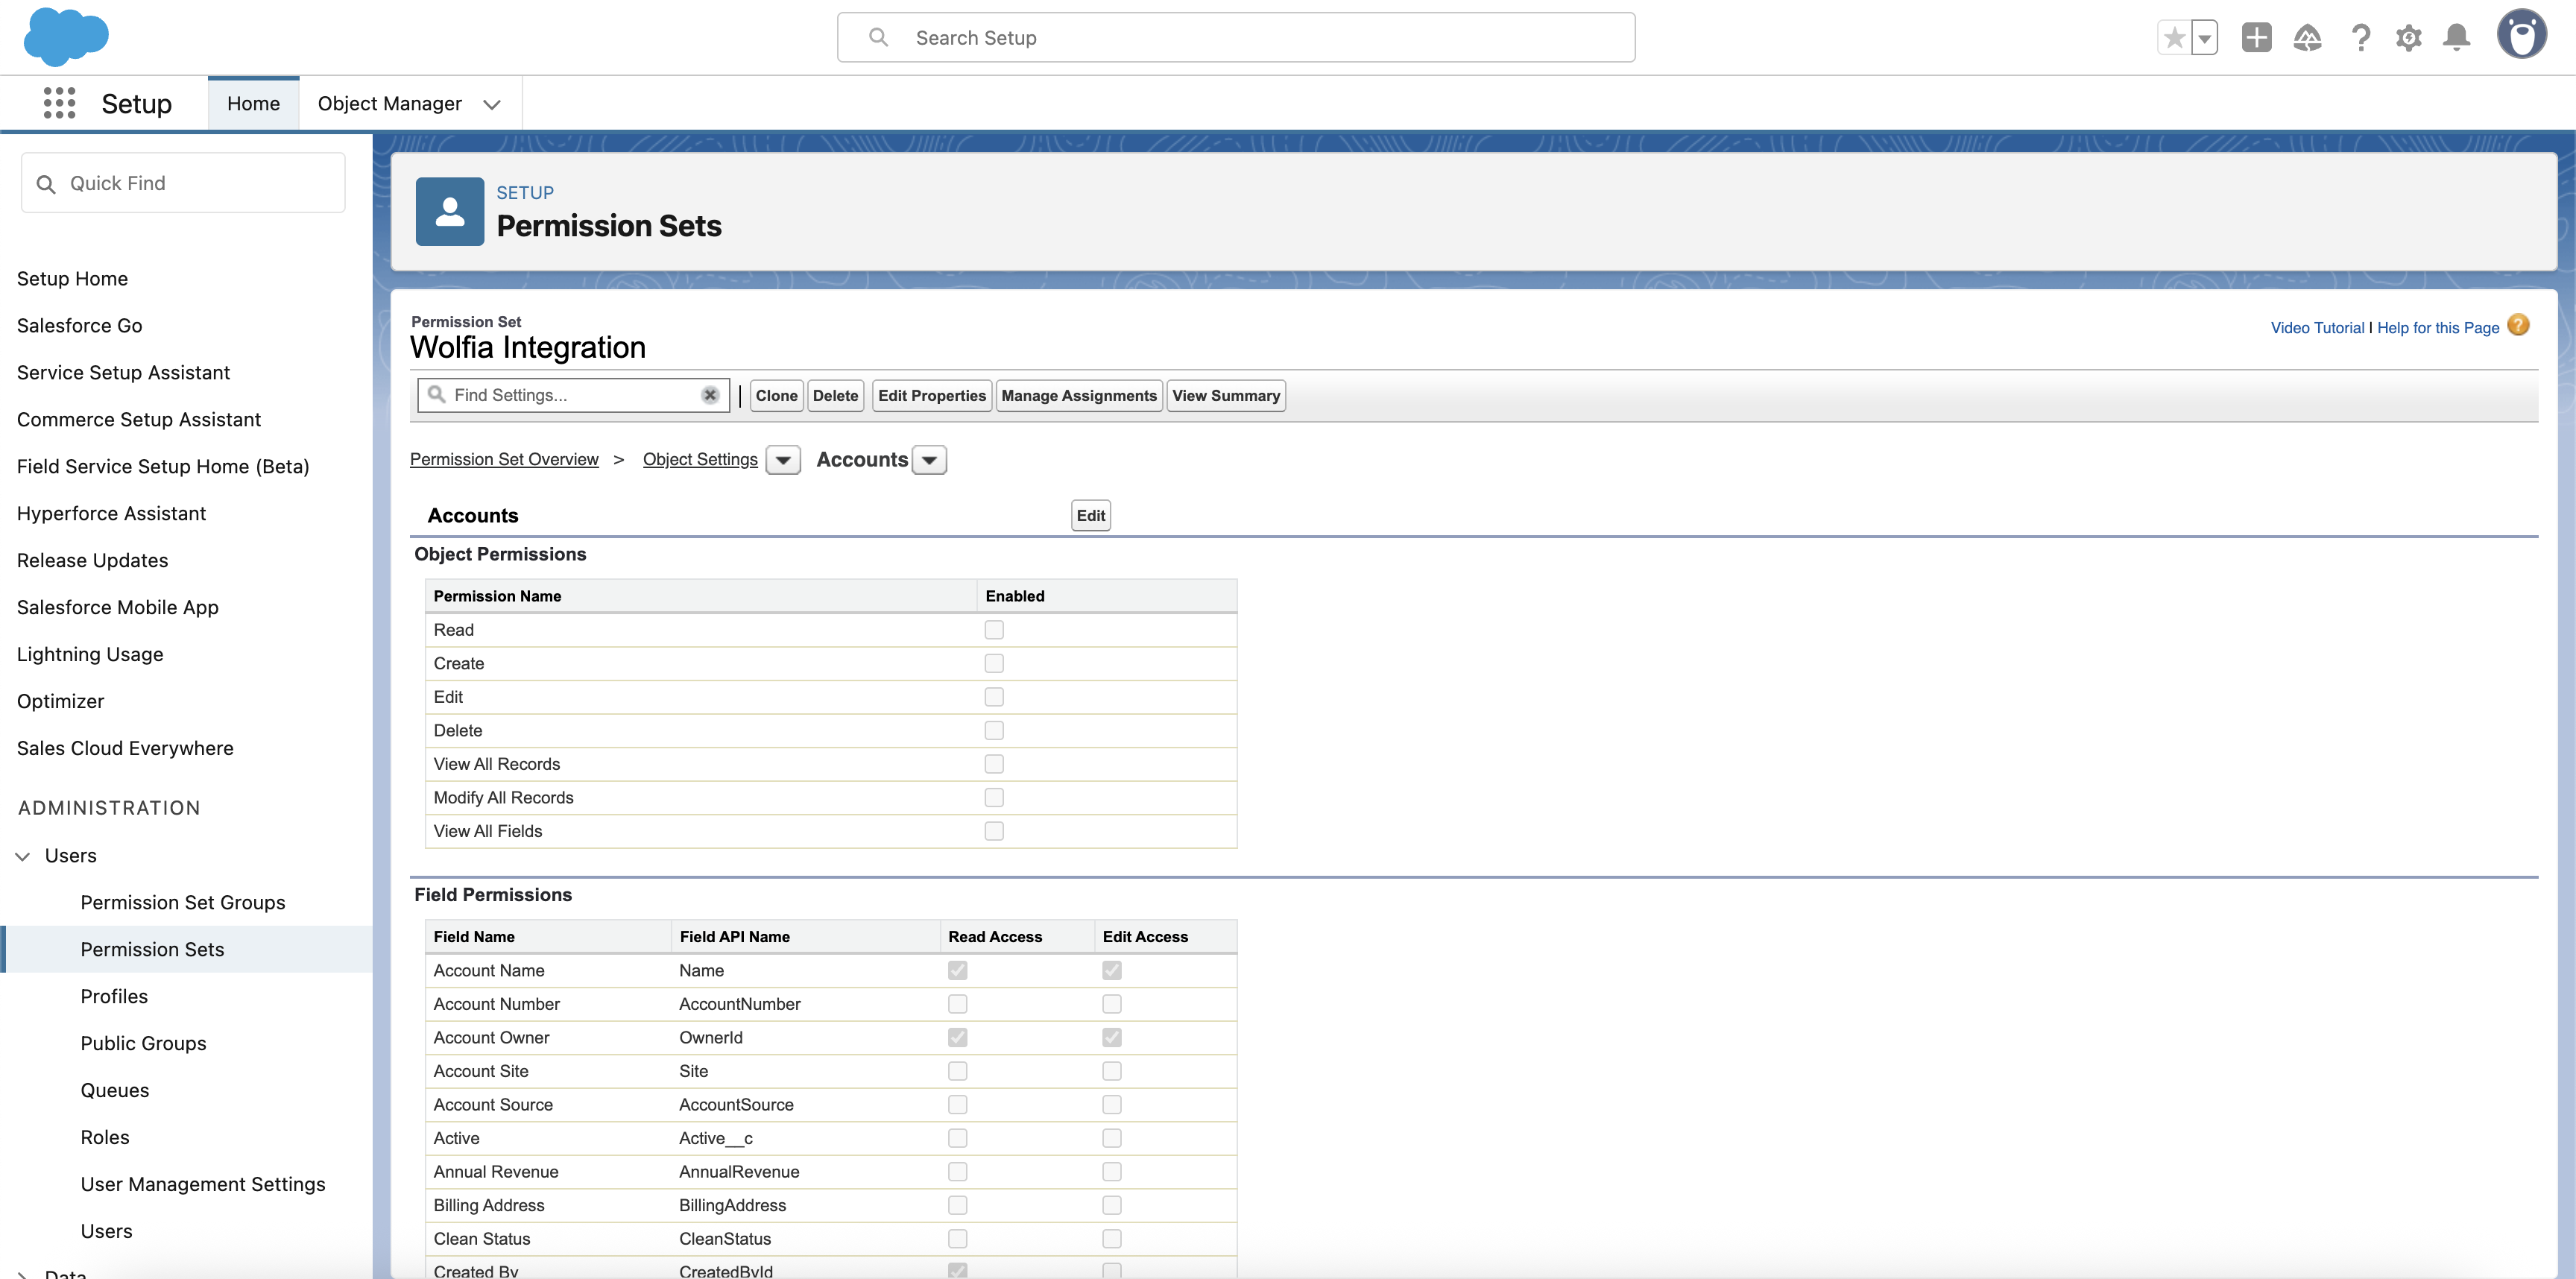
- Click Edit to modify permissions
-
Under Object Permissions, enable:
- Read
- Create
- Edit
- View All Records
- Modify All Records
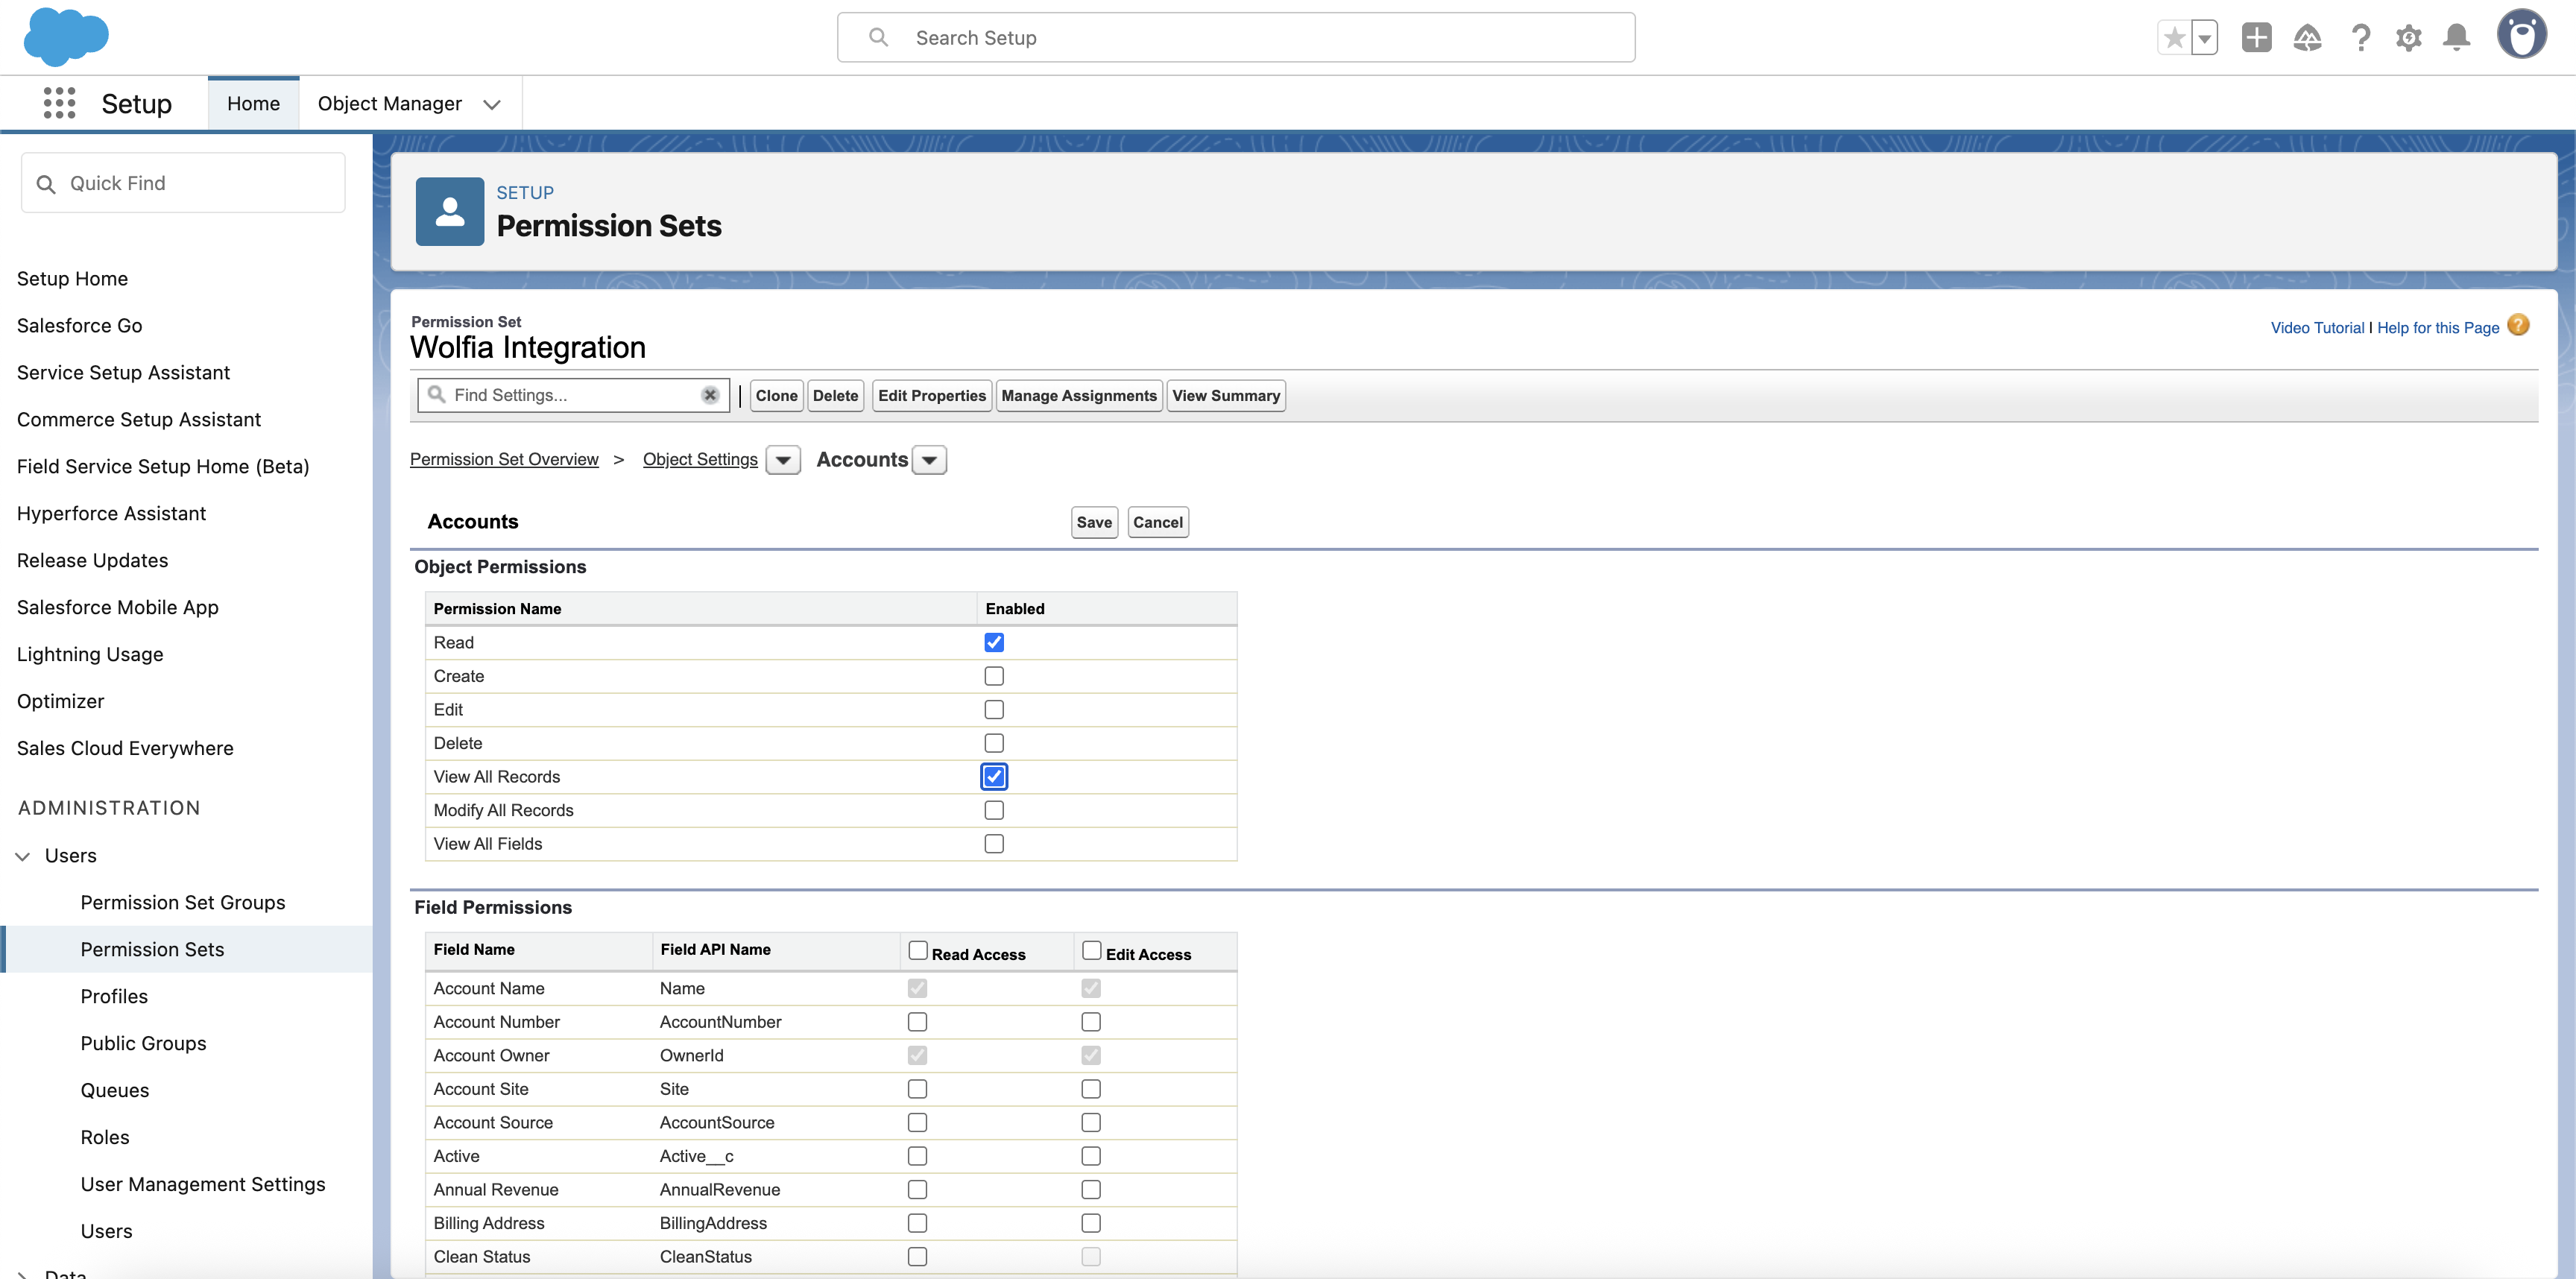
- Click Save to apply the changes
-
Return to Object Settings and select Opportunities
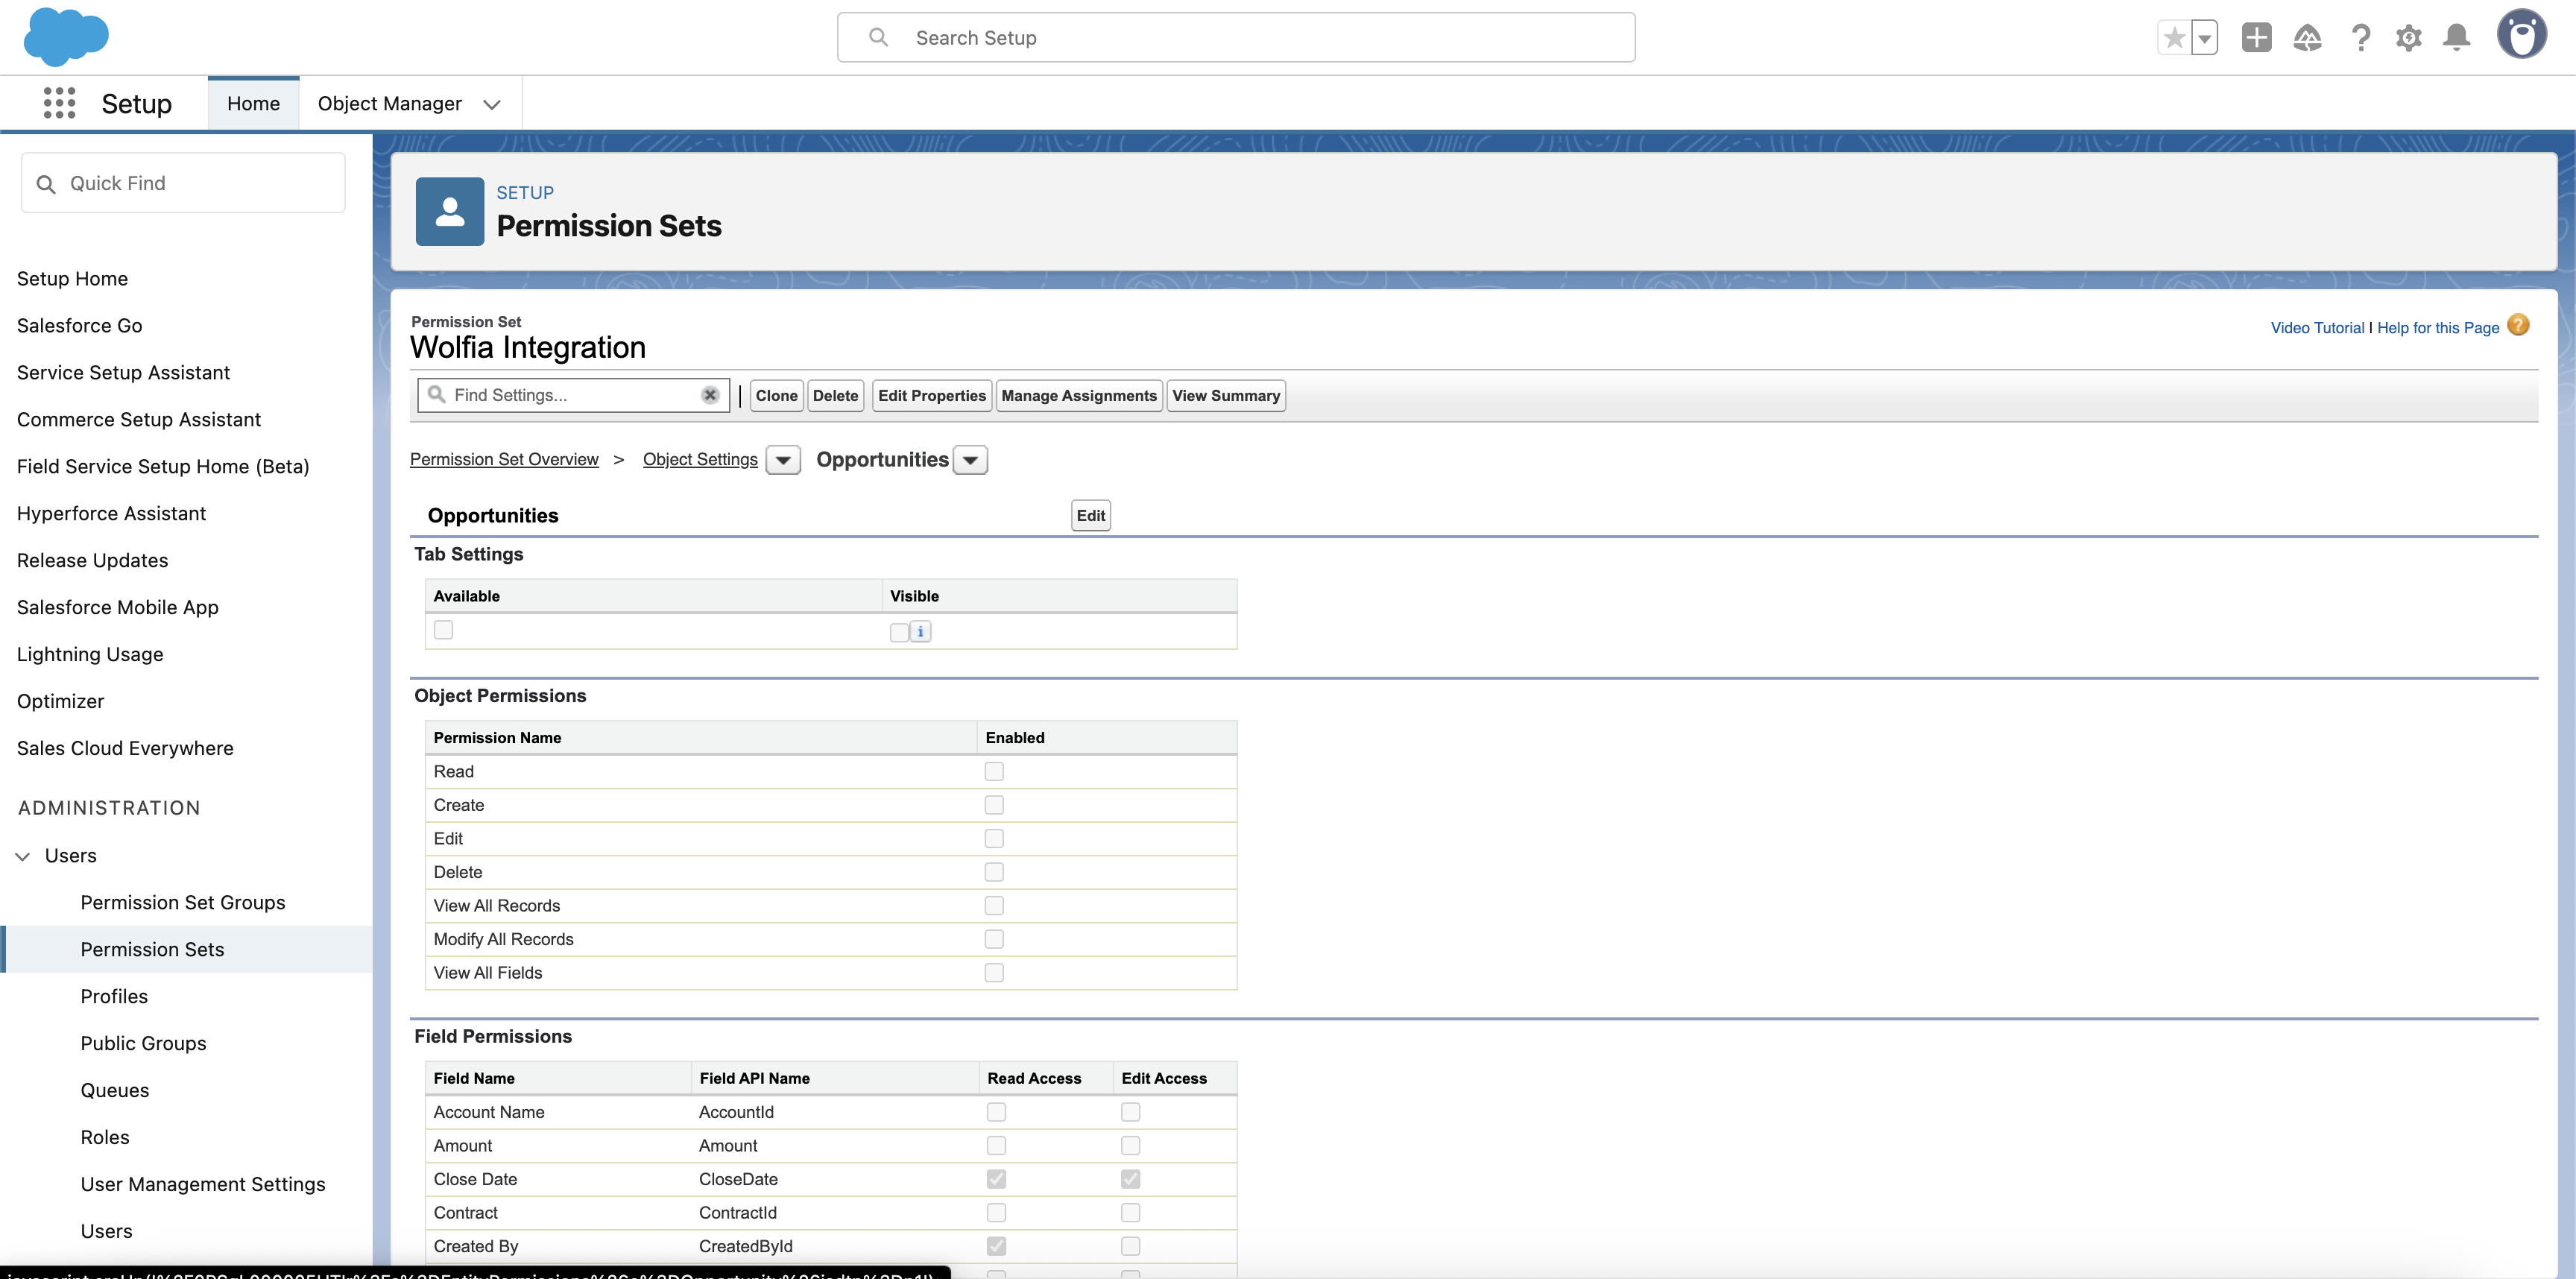
-
Click Edit and enable the same permissions:
- Read
- Create
- Edit
- View All Records
- Modify All Records
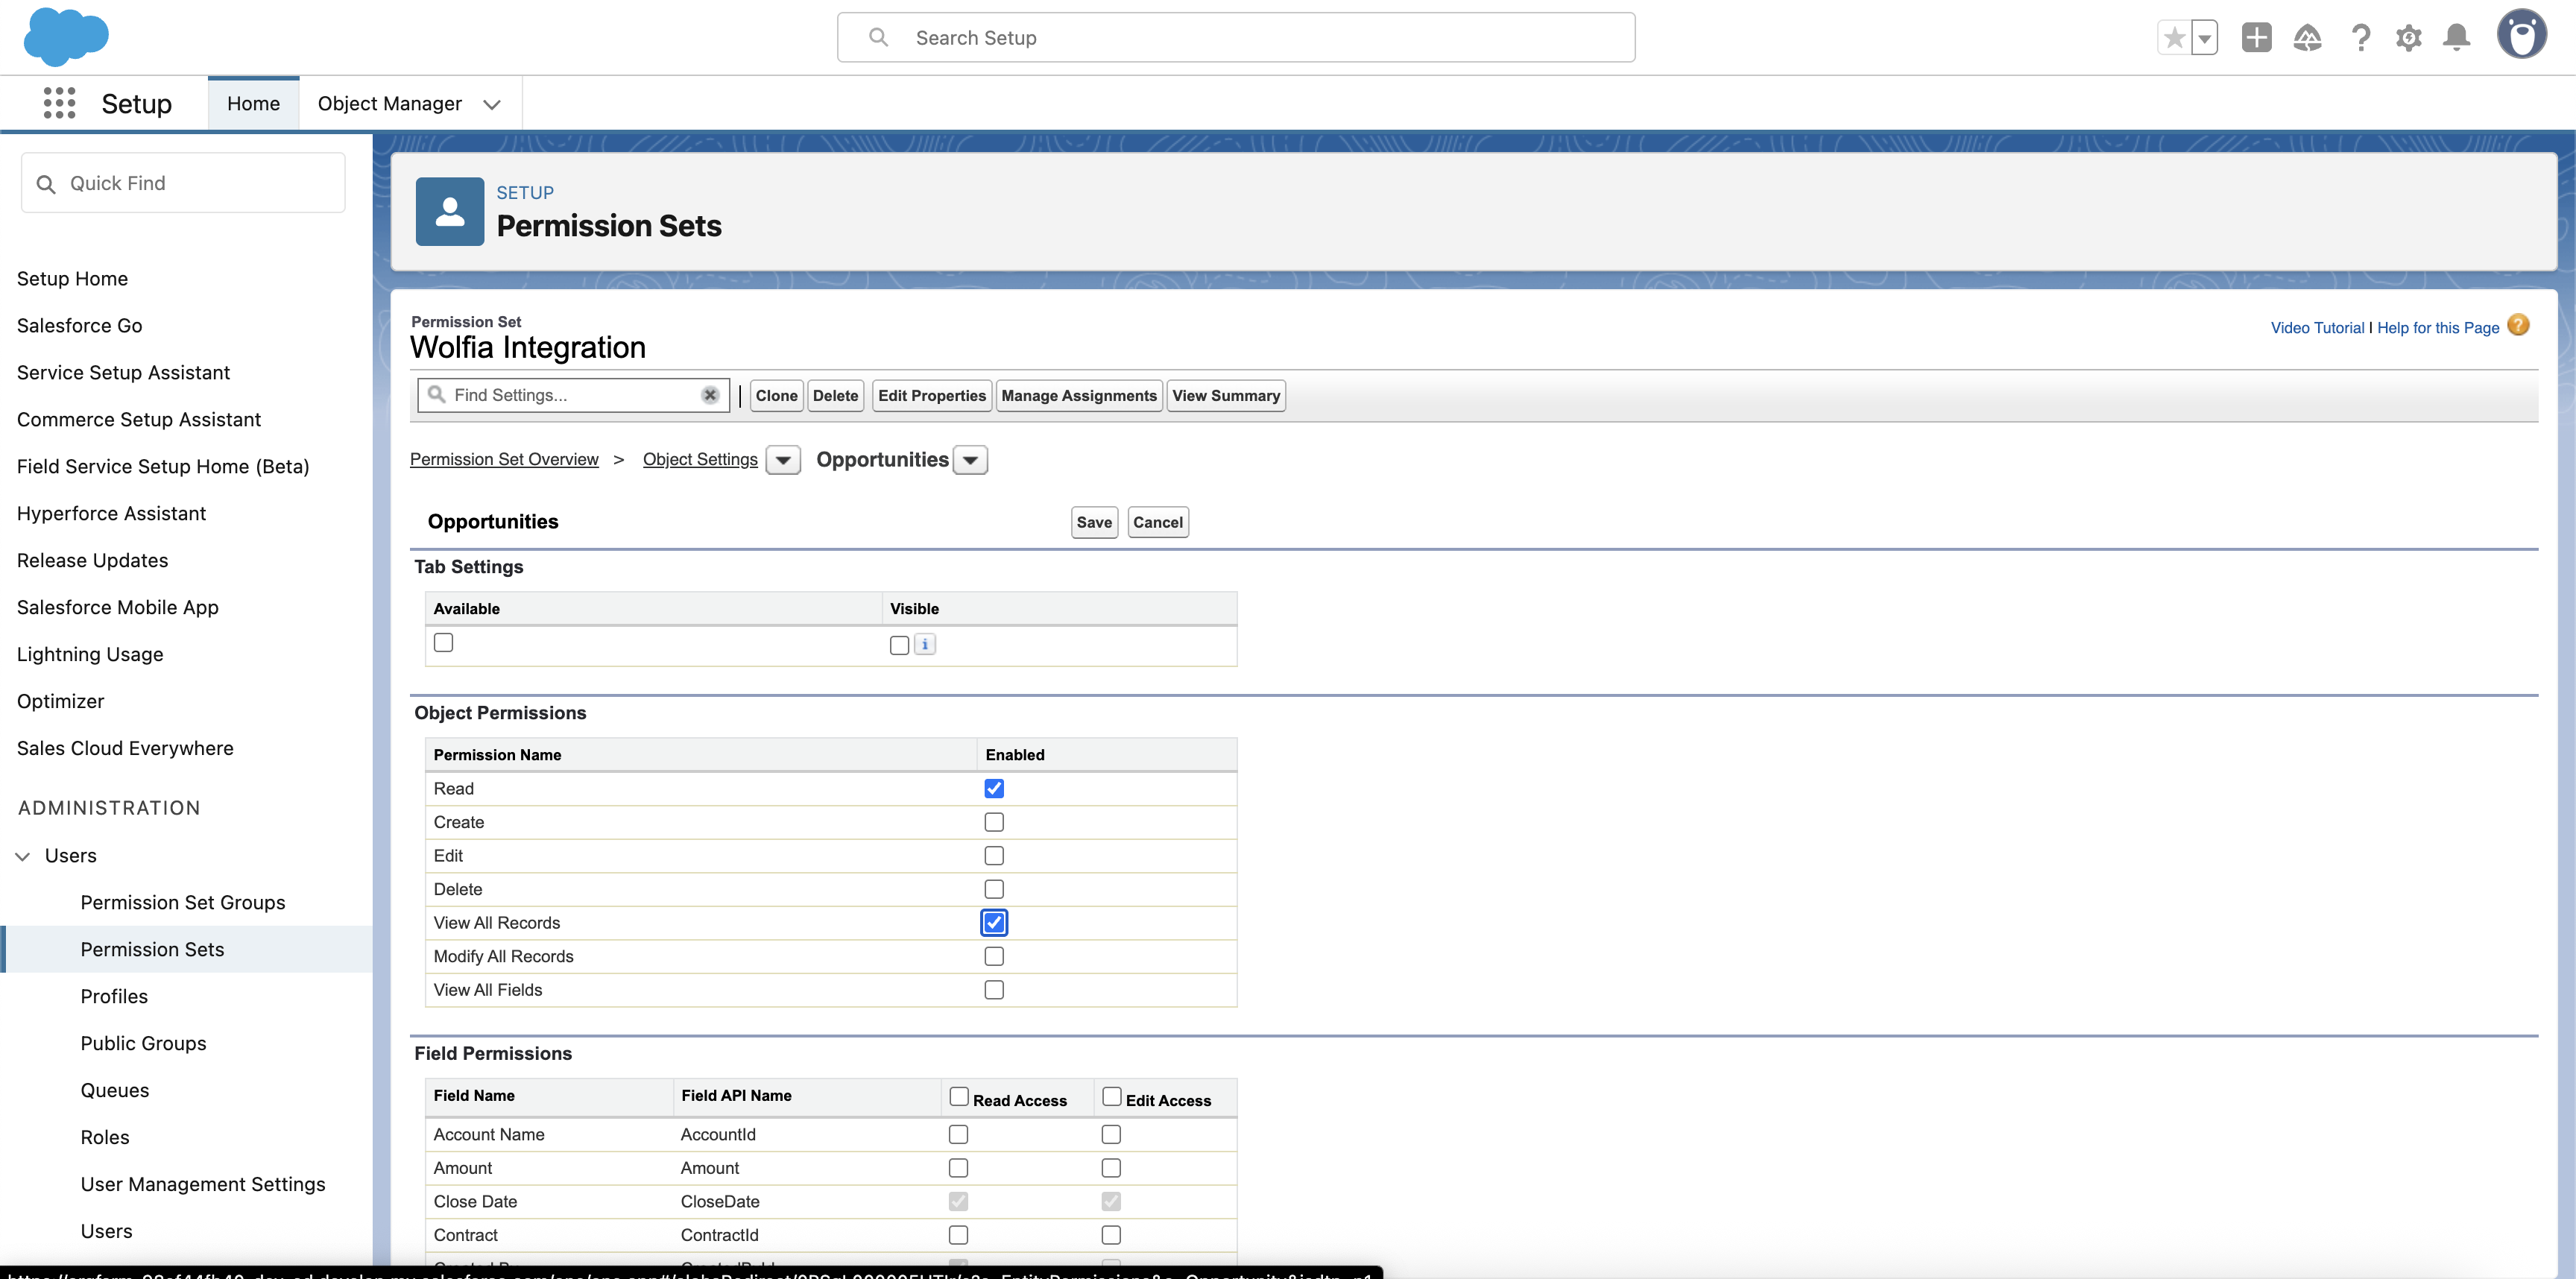
- Click Save to apply the changes
- Return to Object Settings and select Leads
-
Click Edit and enable:
- Read
- Create
- Edit
- View All Records
- Modify All Records
- Click Save to apply the changes
Step 3: Create an integration user
Next, we’ll create a dedicated user for the API integration.- Navigate to Setup → Users → Users
- Click New User to create a new user
-
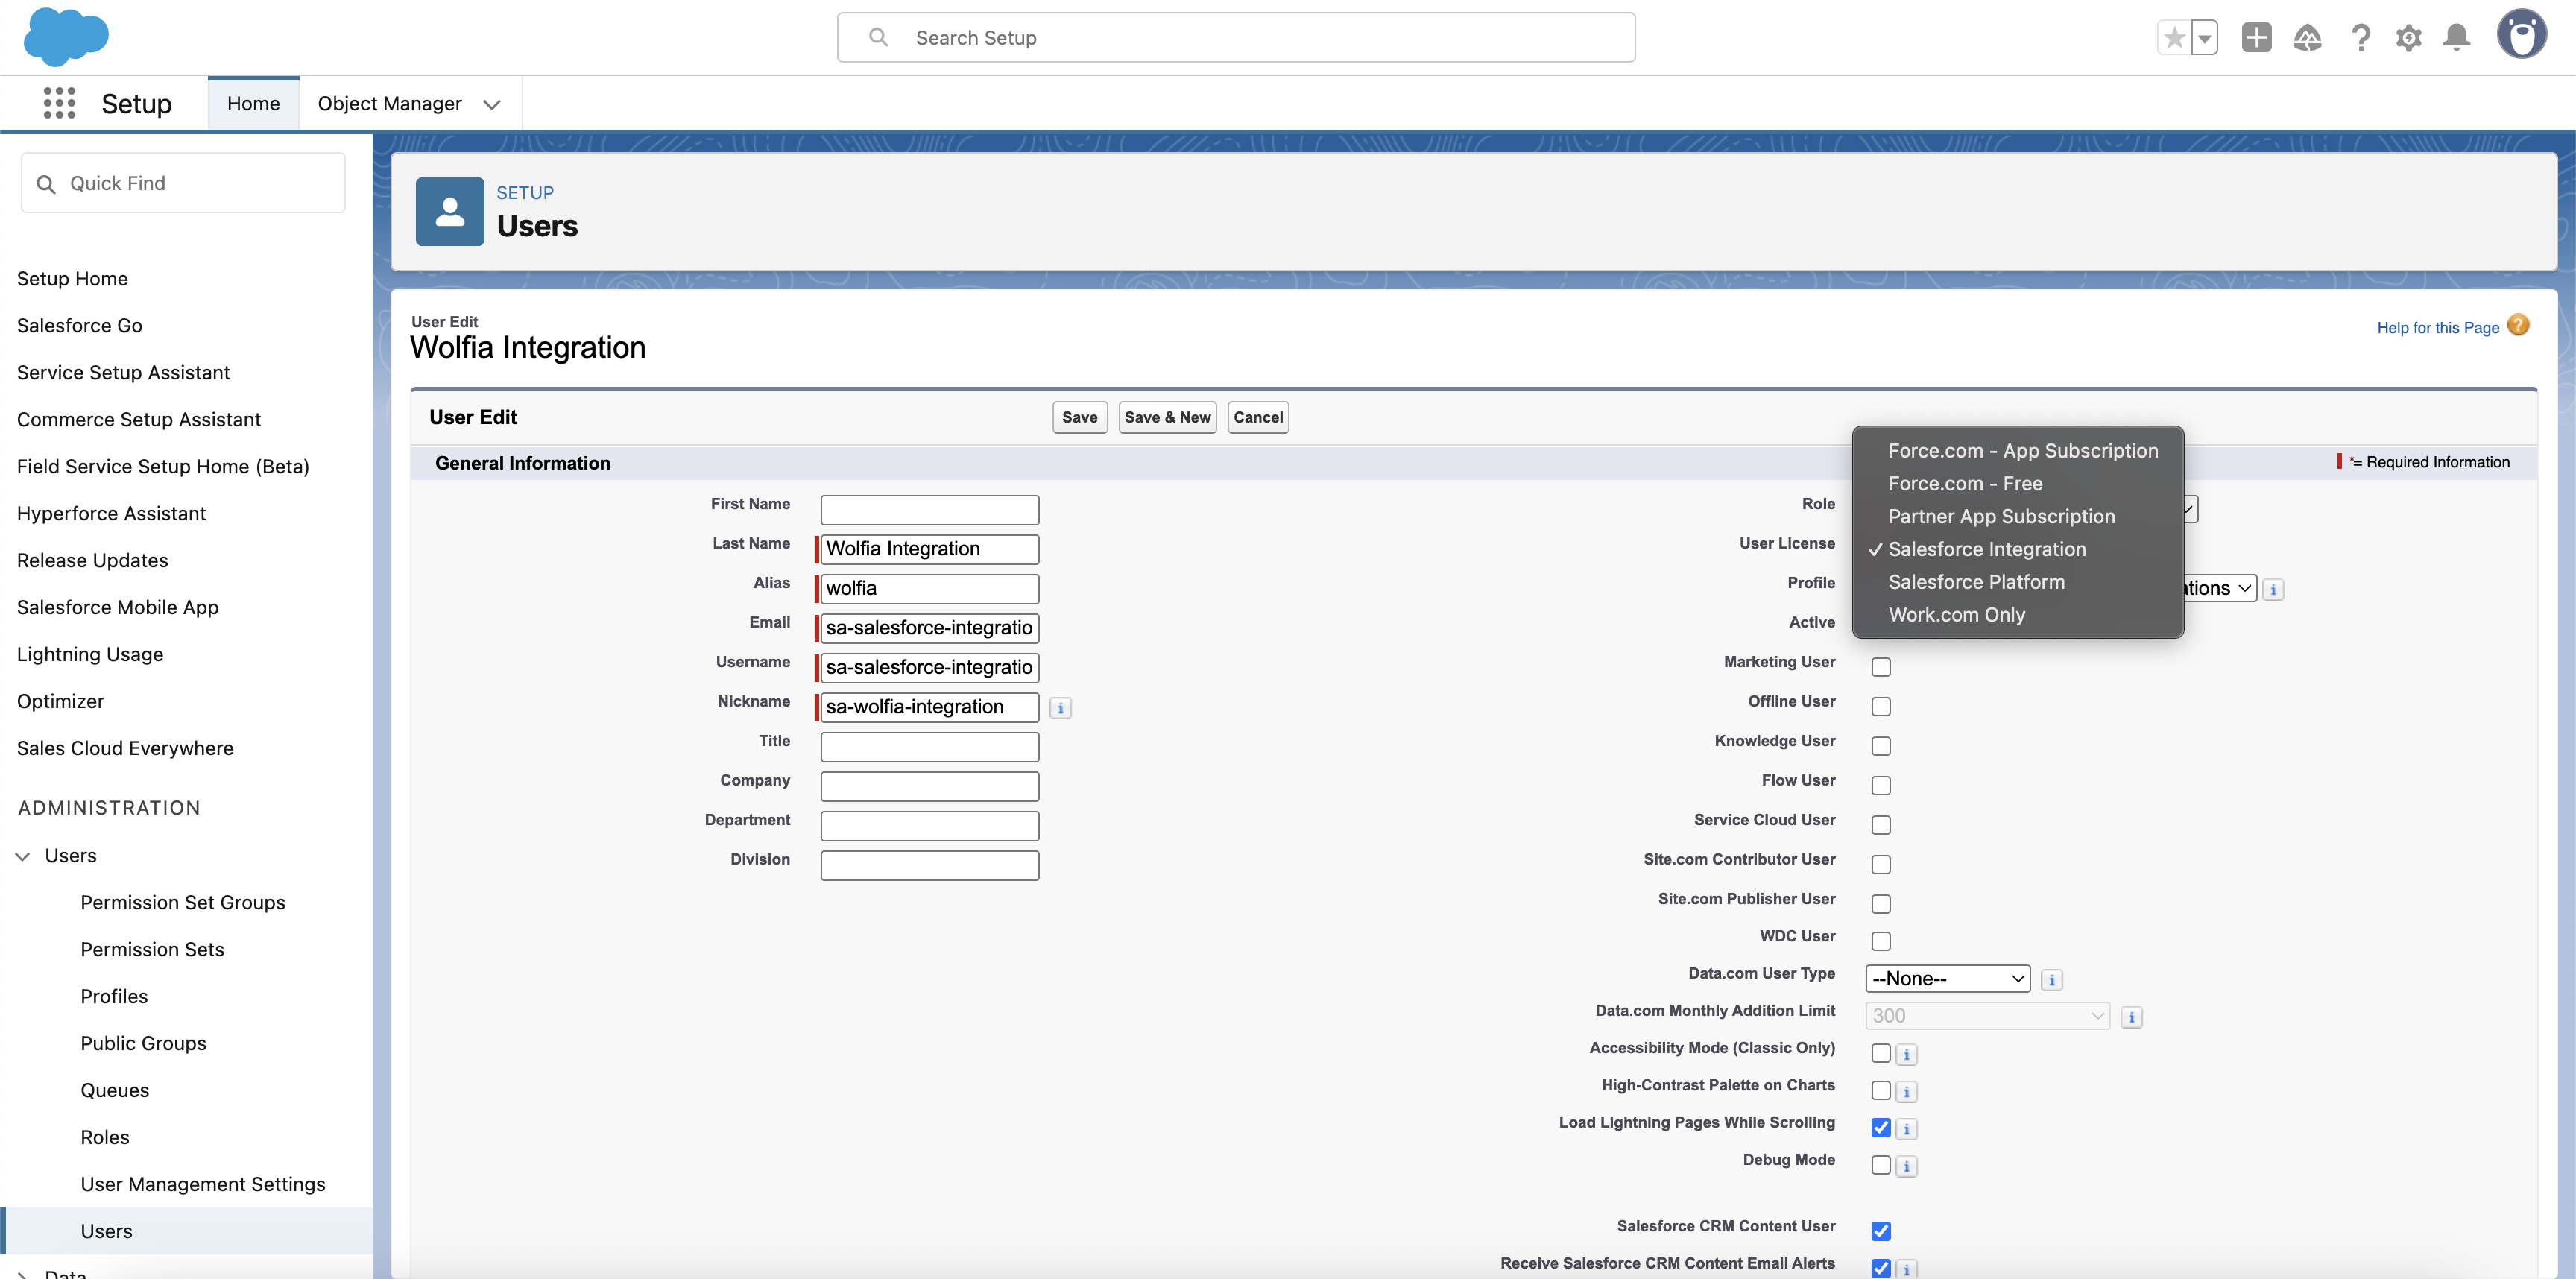
Fill in the required information:
- Email: Use a dedicated email for this integration
- Username: Must be unique (e.g.,
wolfia-integration@yourcompany.com) - User License: Select
Salesforce Integration - Profile: Select
Salesforce API Only System Integrations
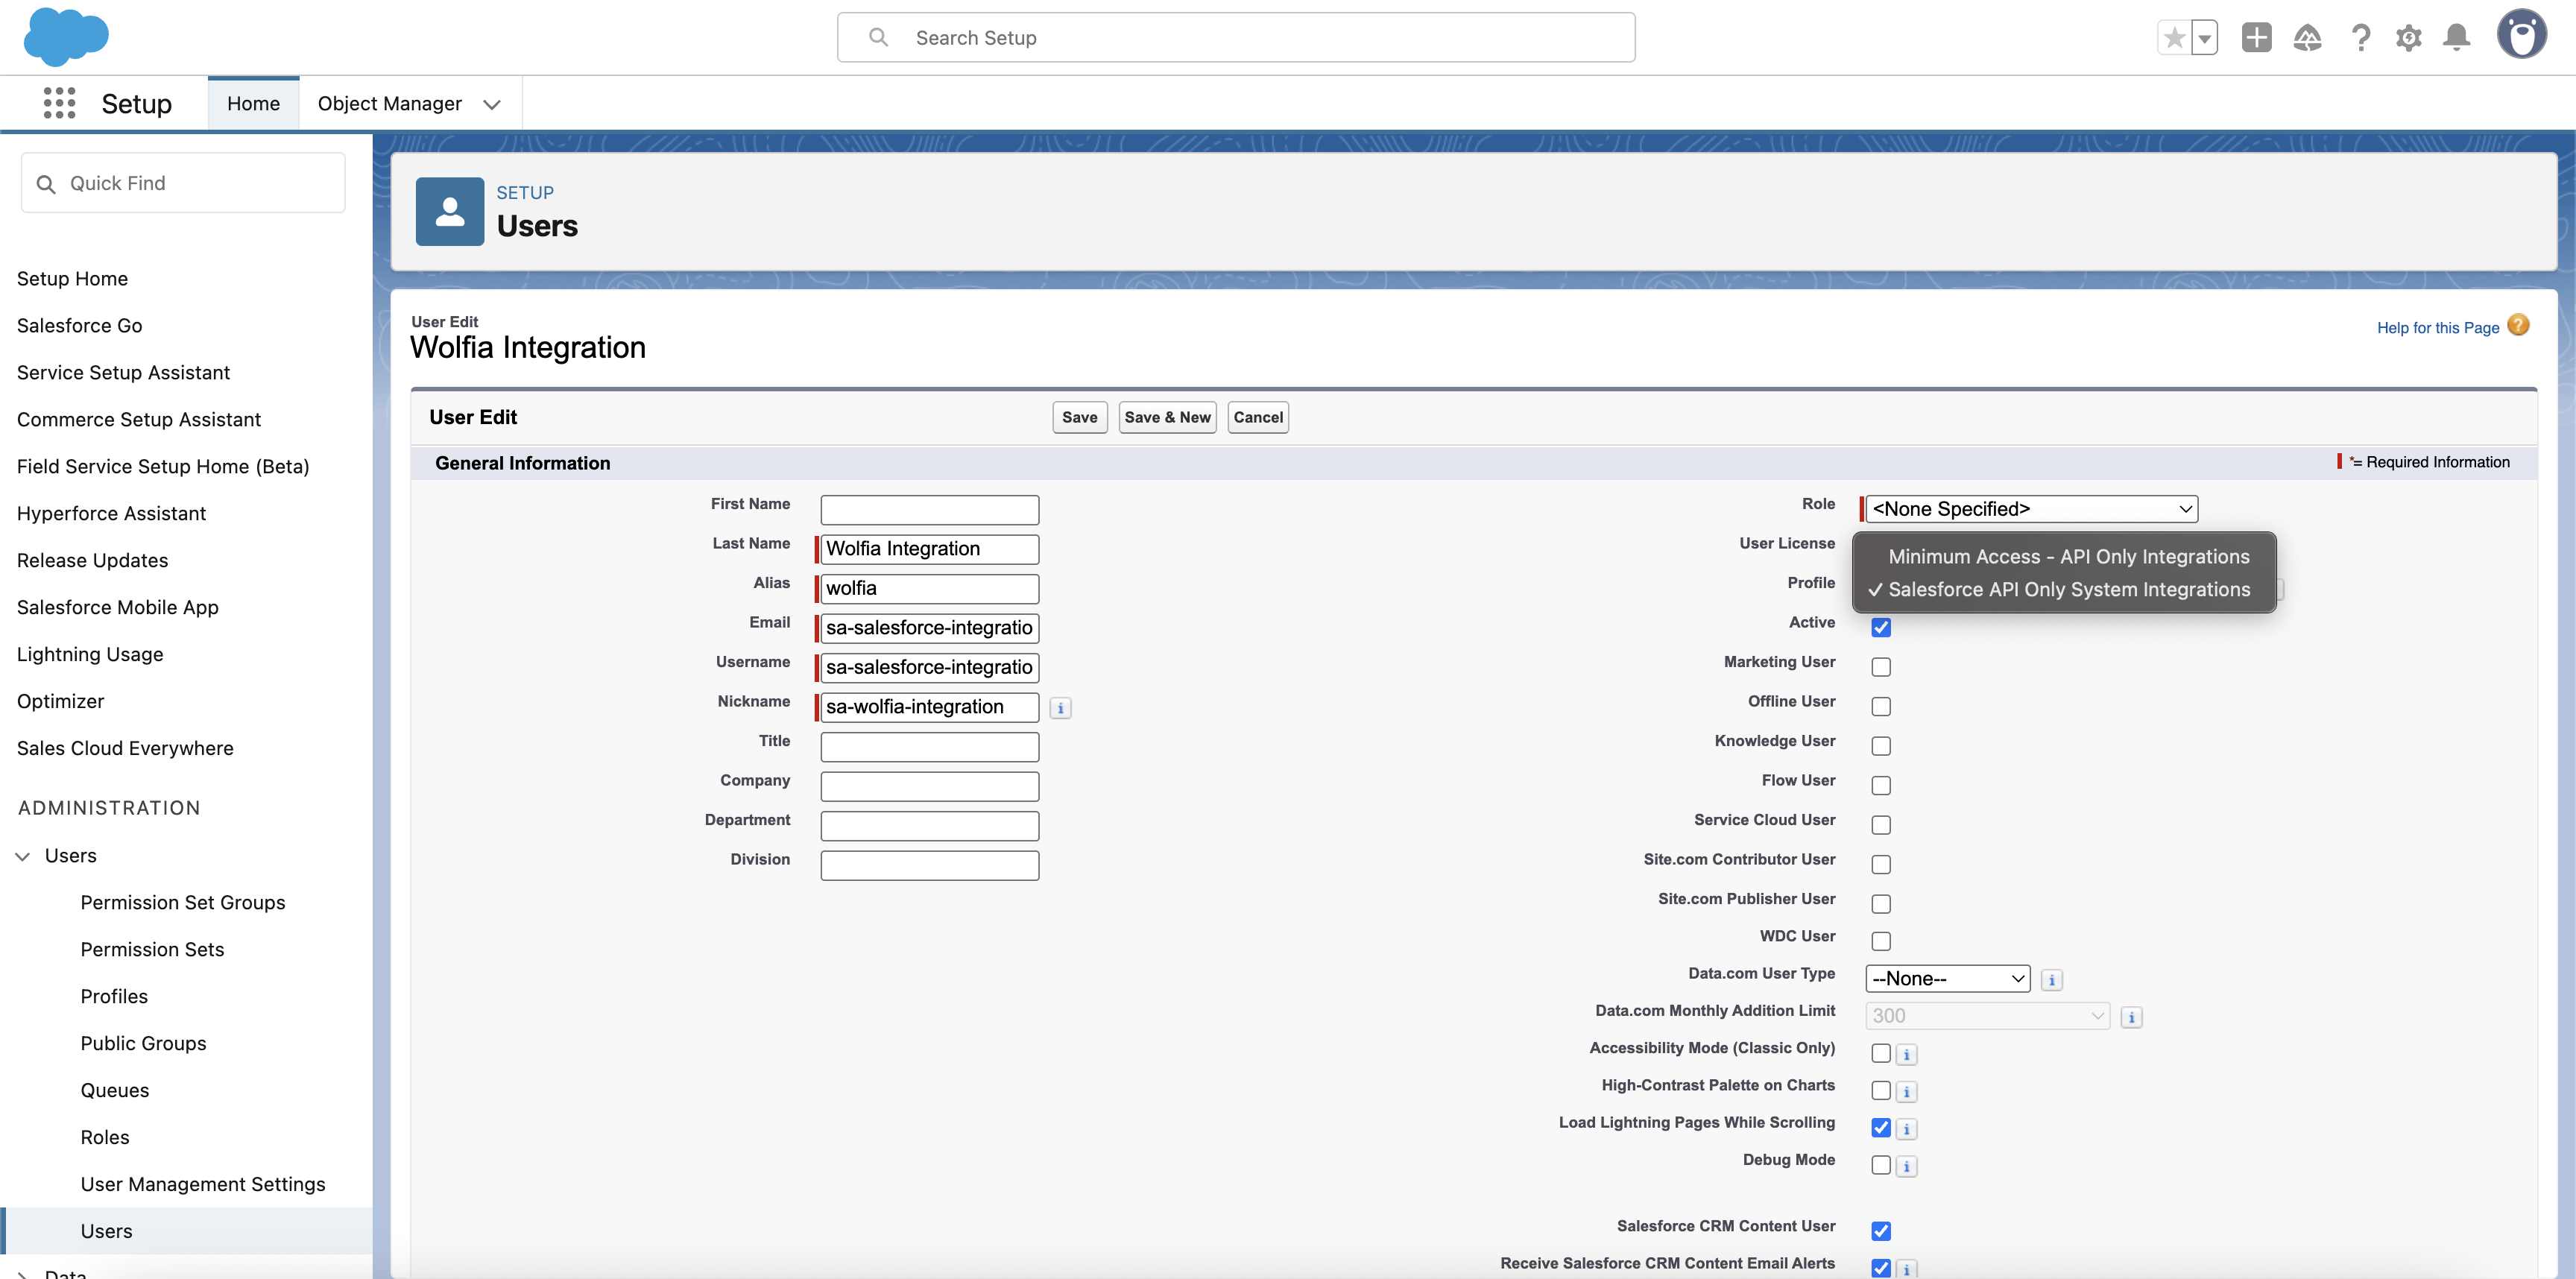
- Click Save to create the user
Step 4: Assign the permission set
Now we’ll assign the Wolfia Integration permission set to the newly created user.-
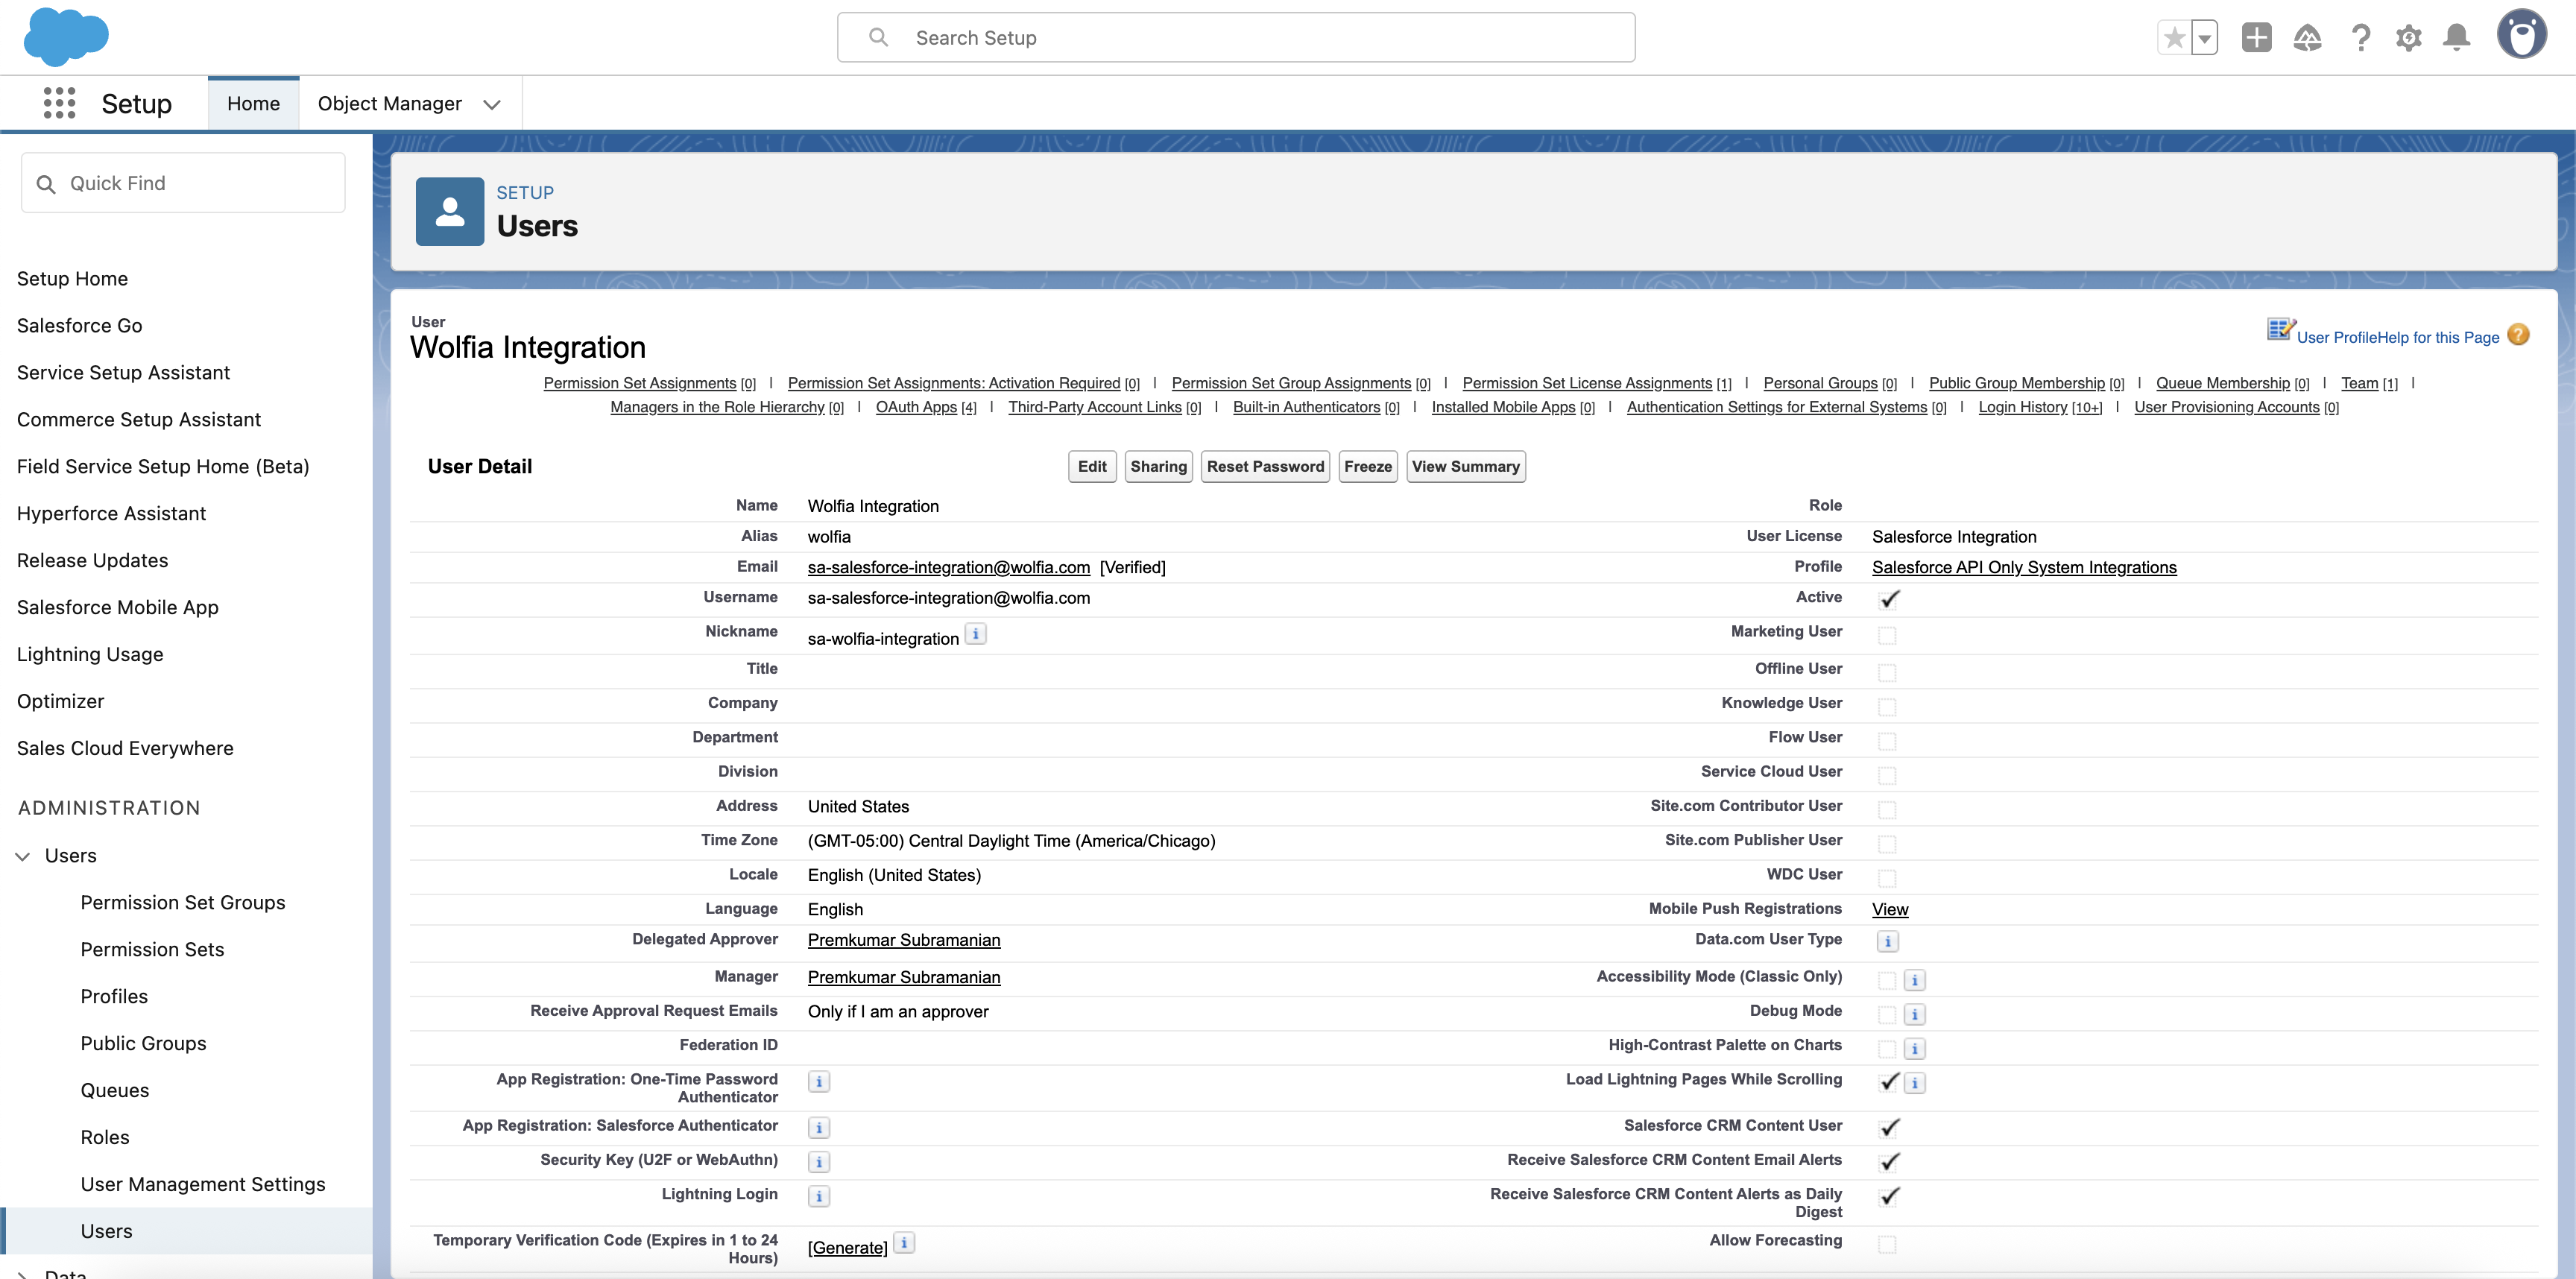
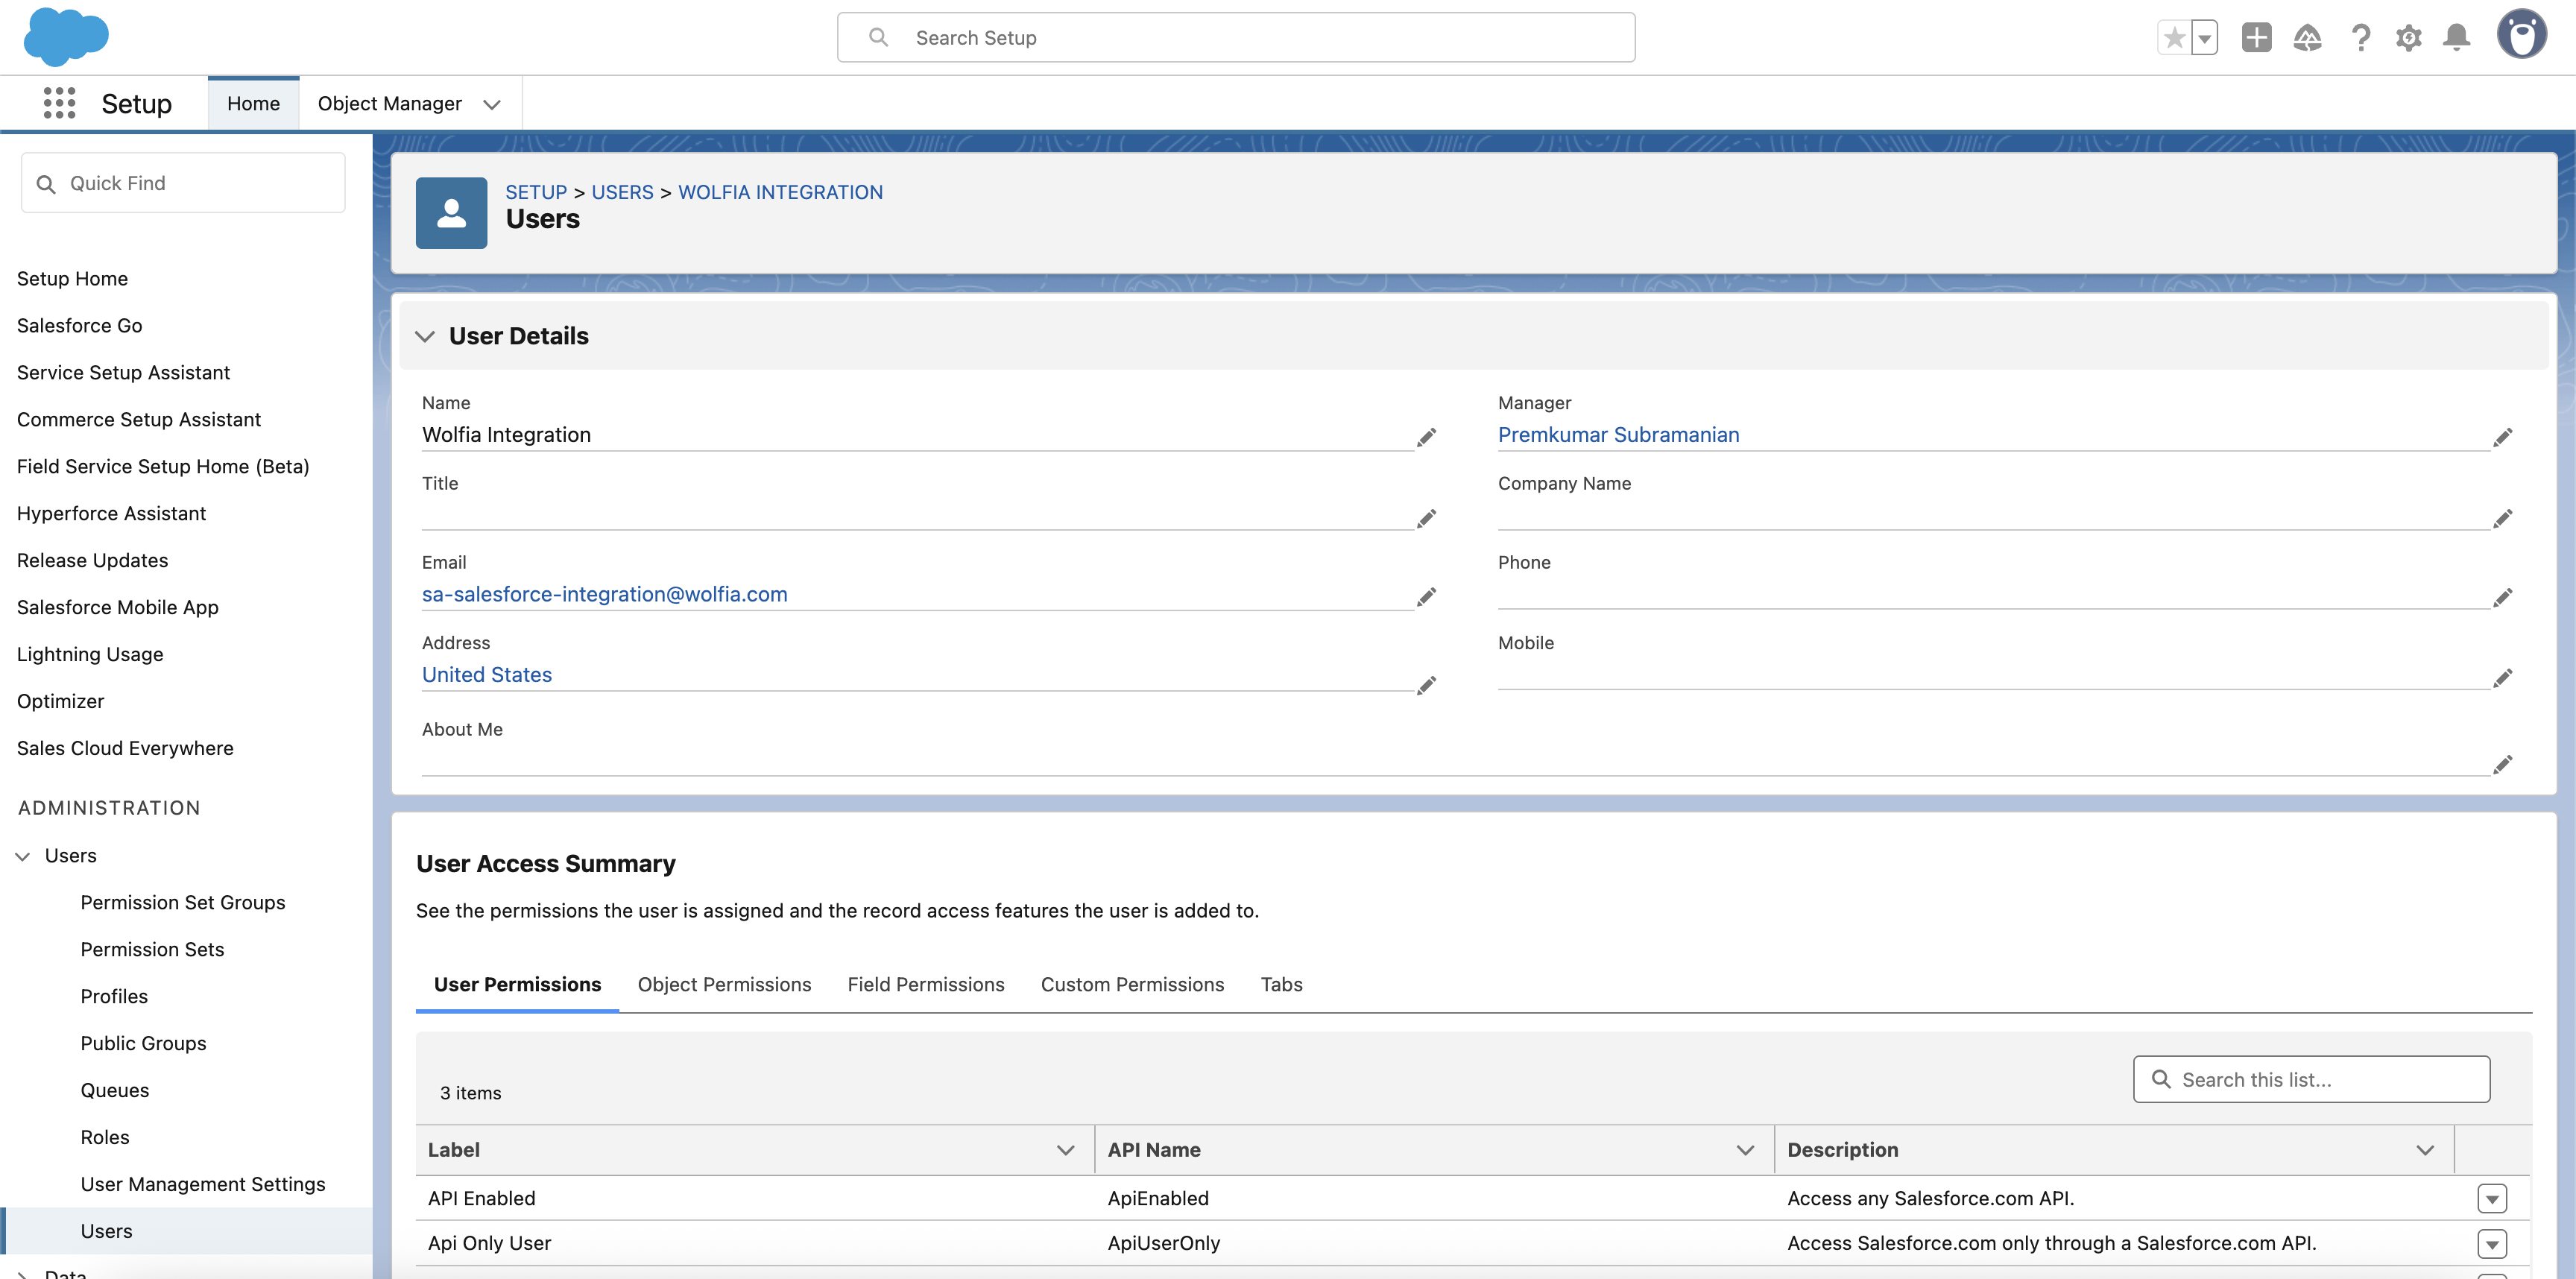
After creating the user, you’ll be on the user detail page
-
Scroll down to Permission Set section and select Permission Set Assignments tab
-
Click Add and Search for
Wolfia Integrationin the available permission sets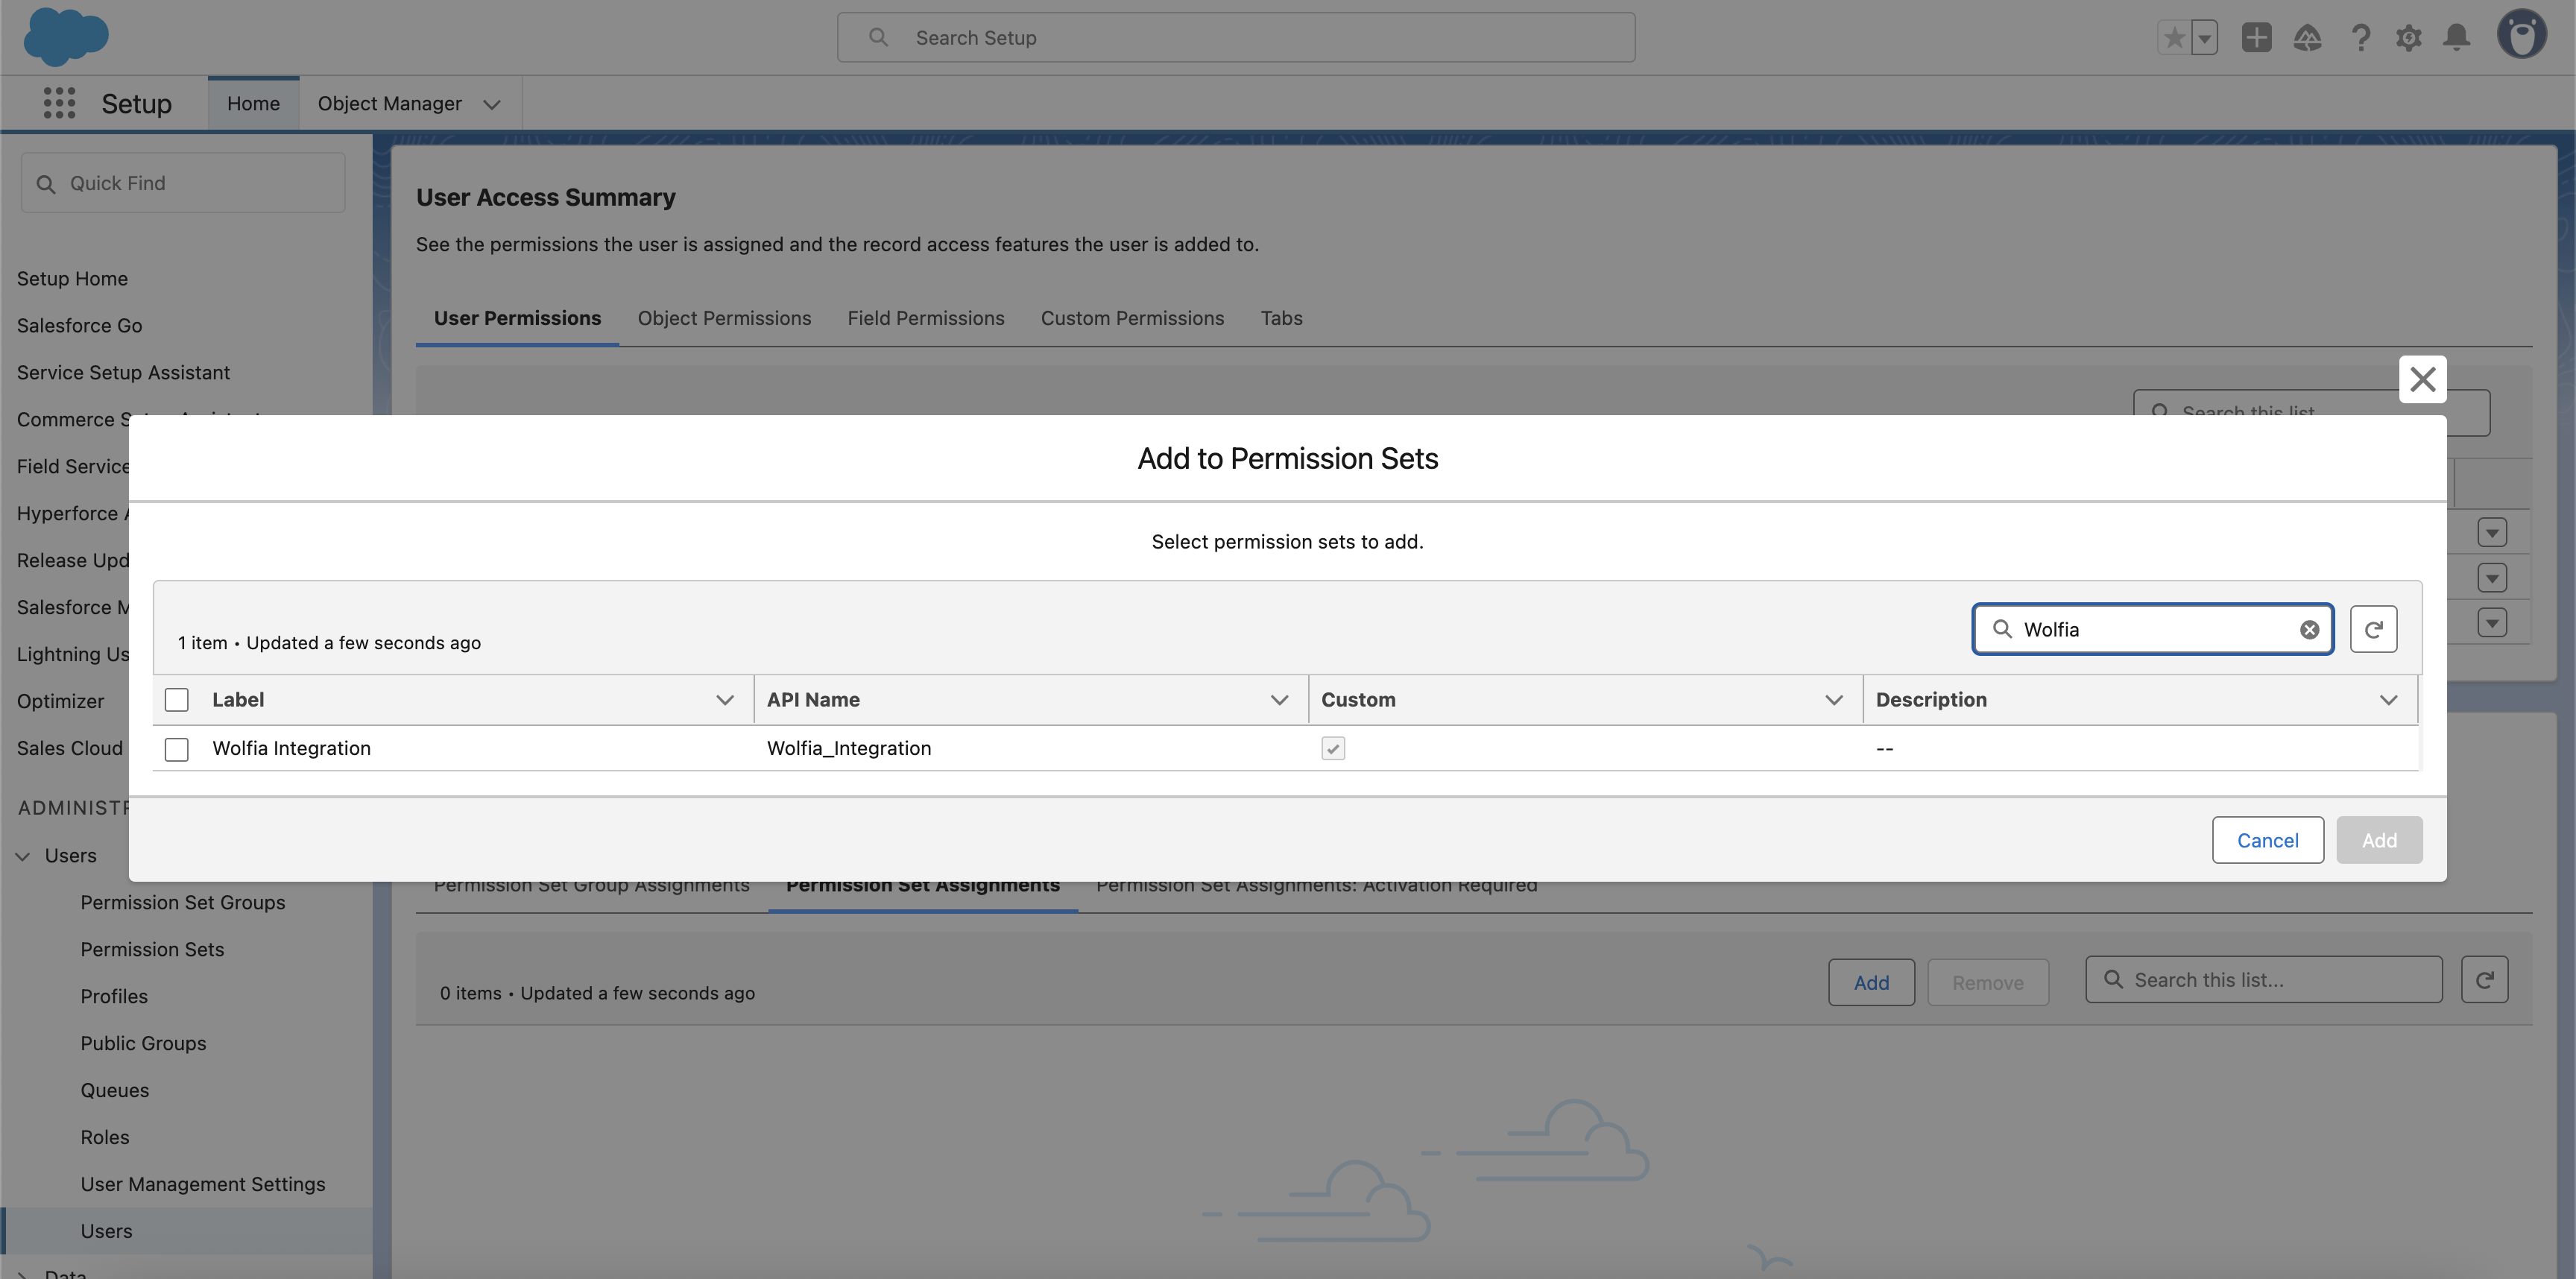
-
Select Wolfia Integration and click Add to move it to Enabled Permission Sets
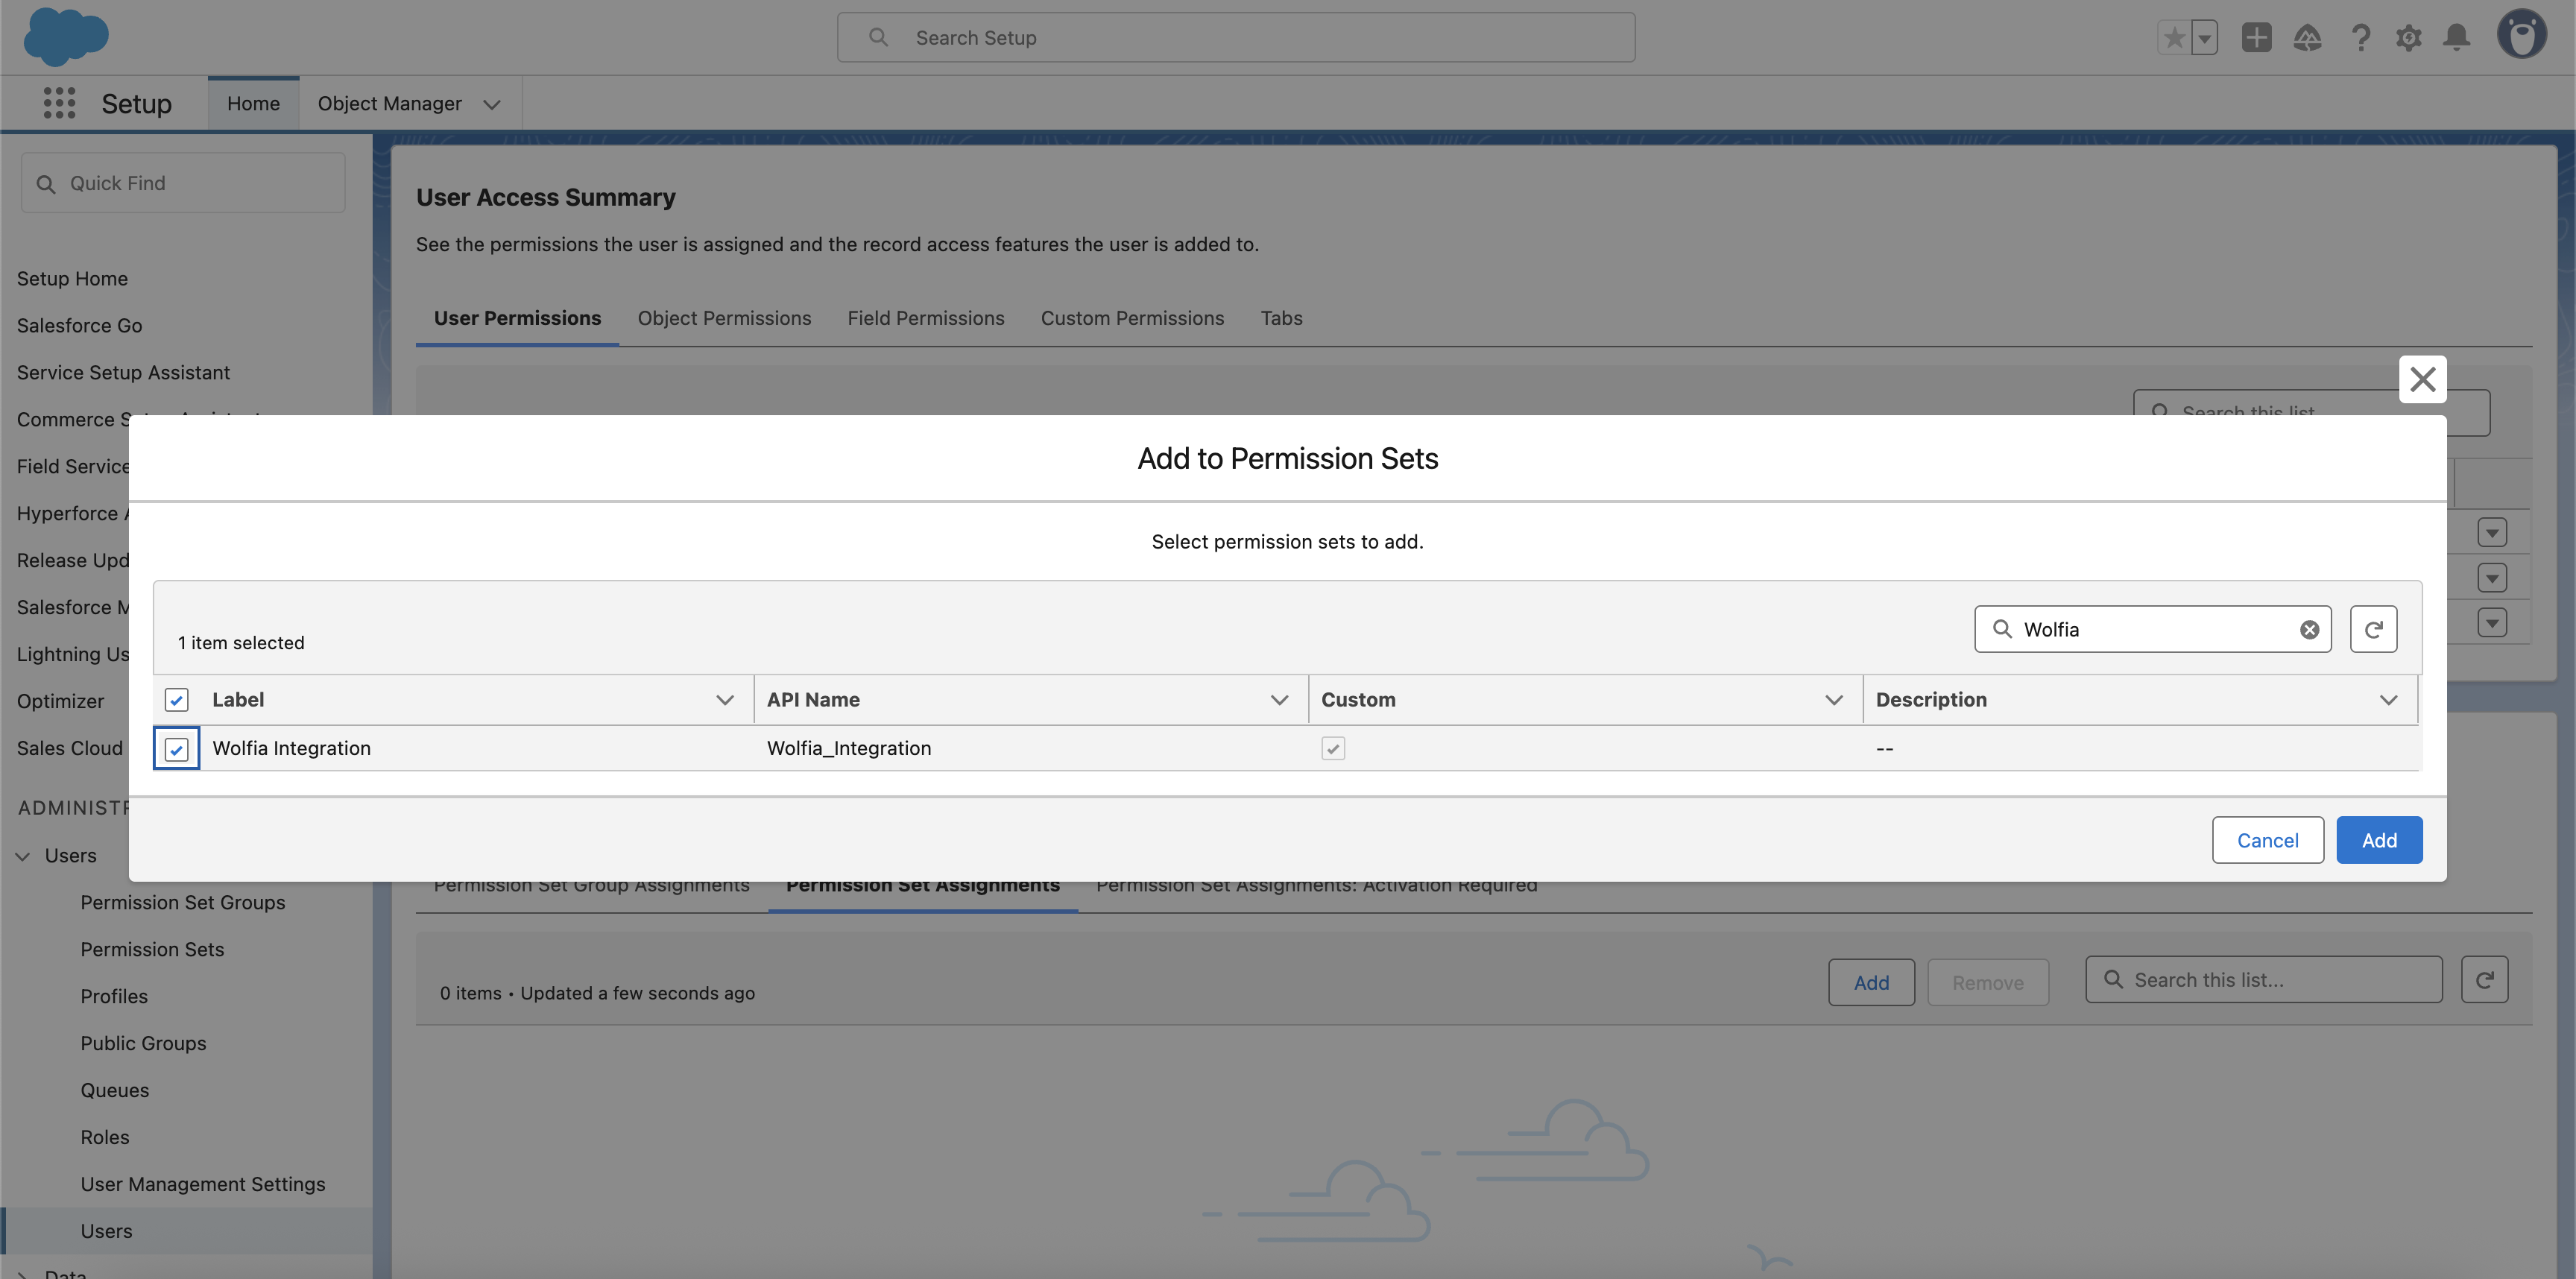
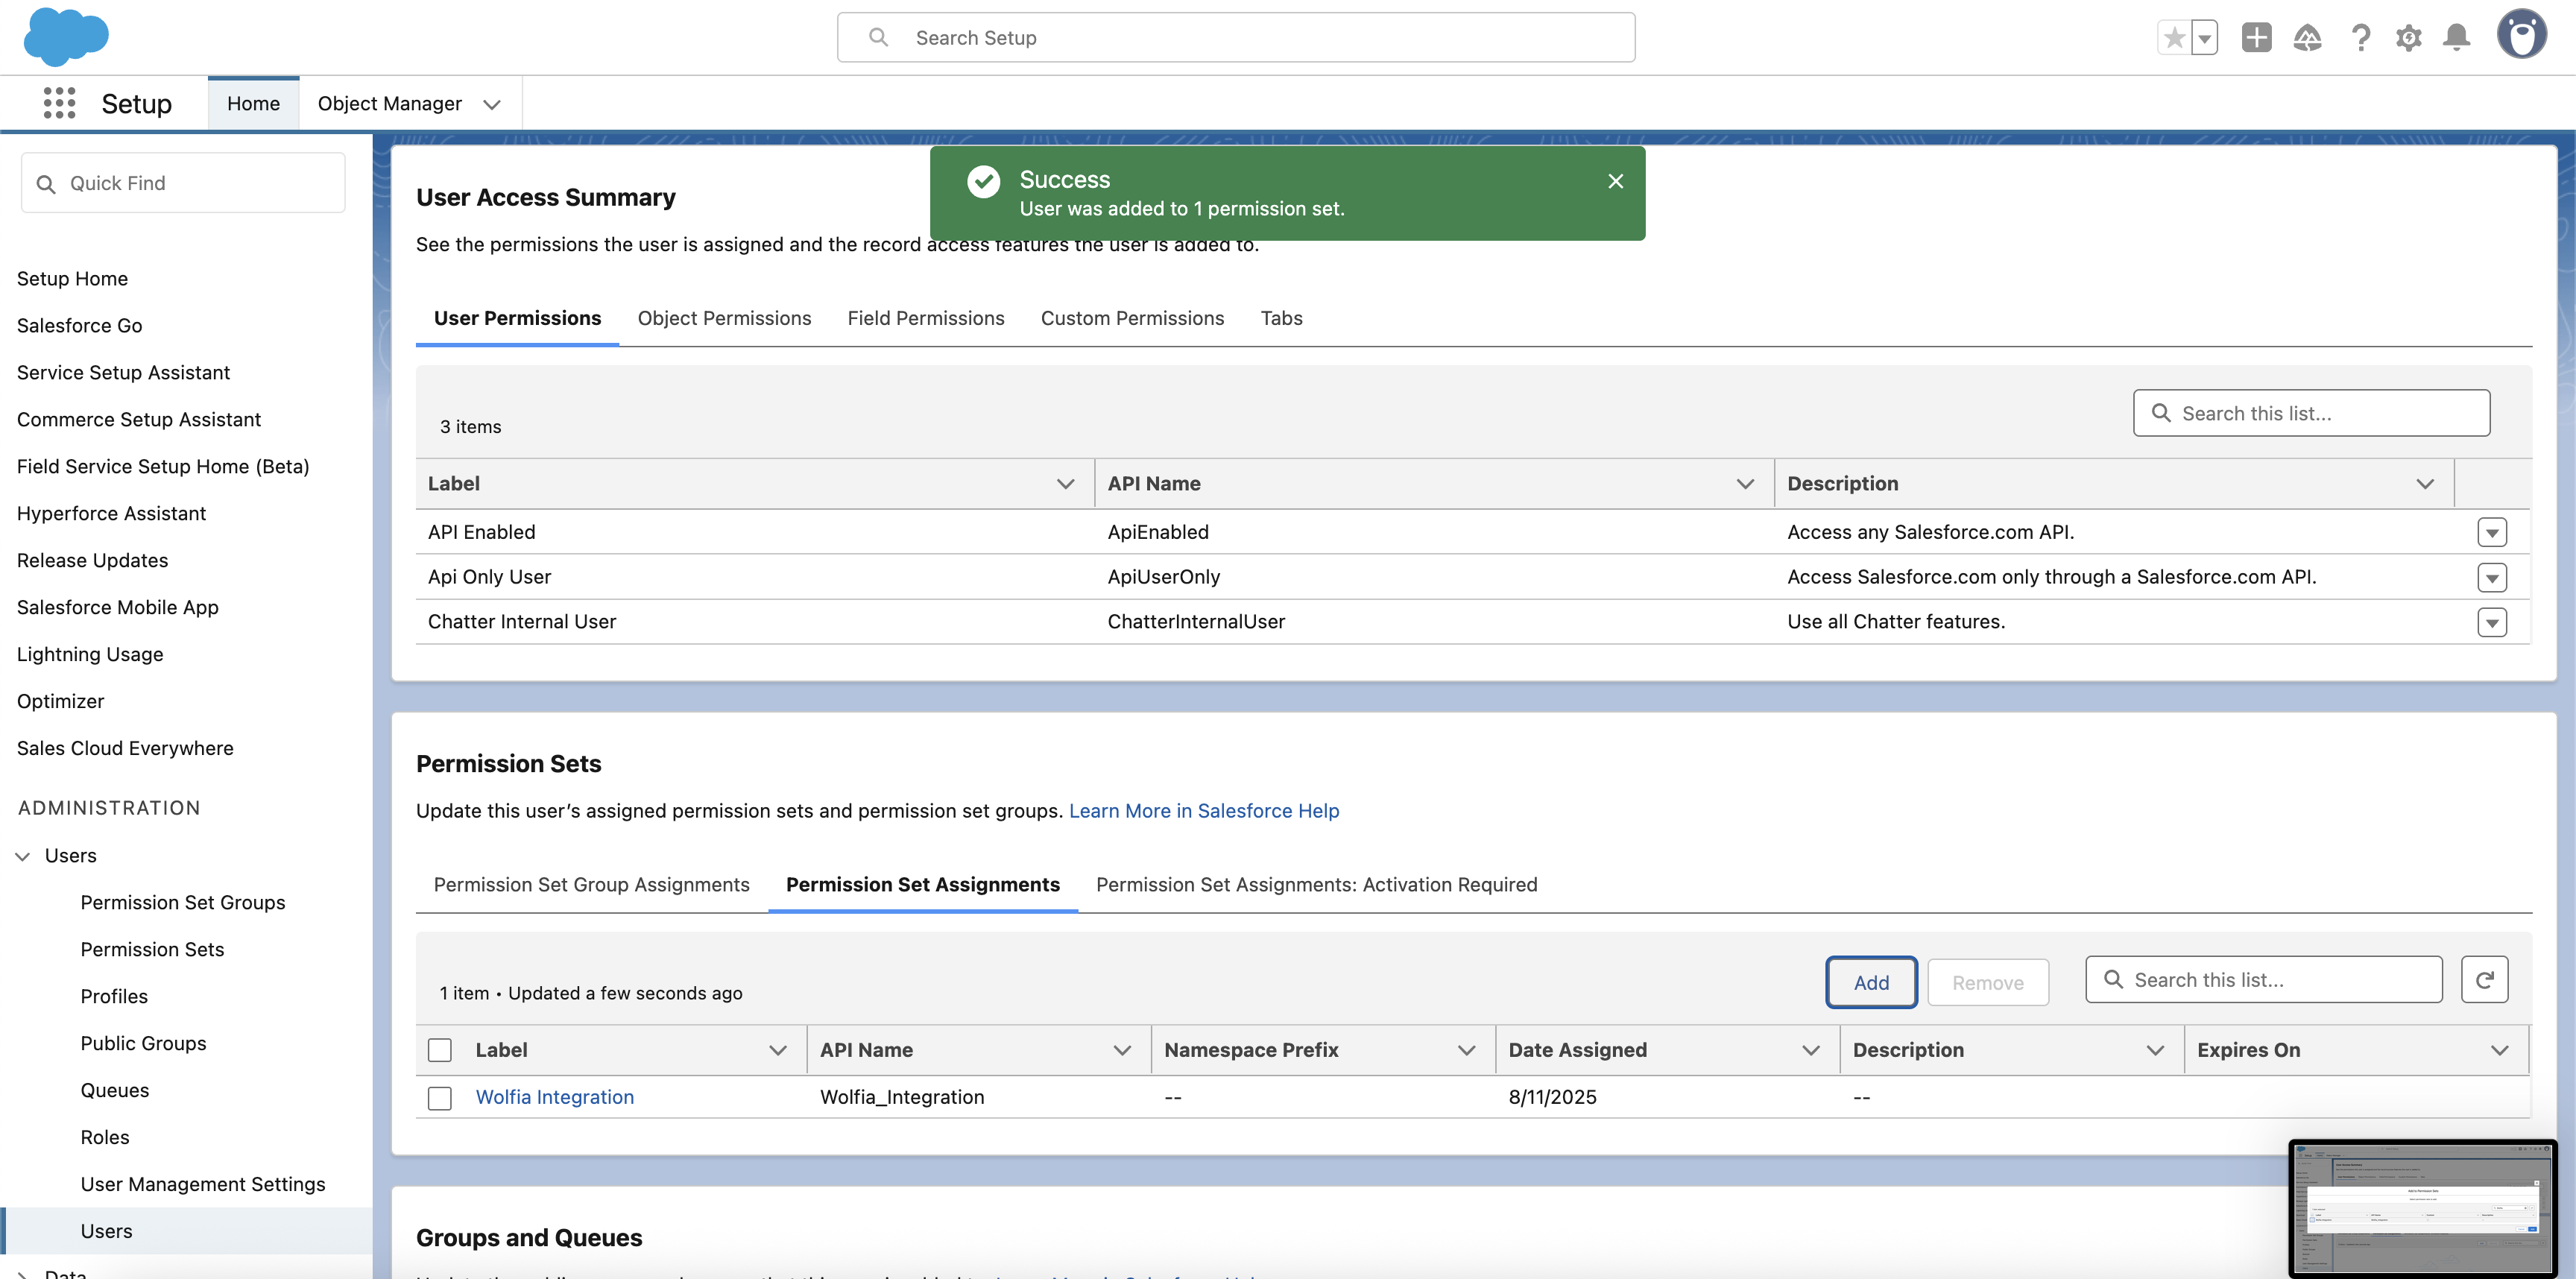
-
Click Save to assign the permission set
Step 5: Verify permissions
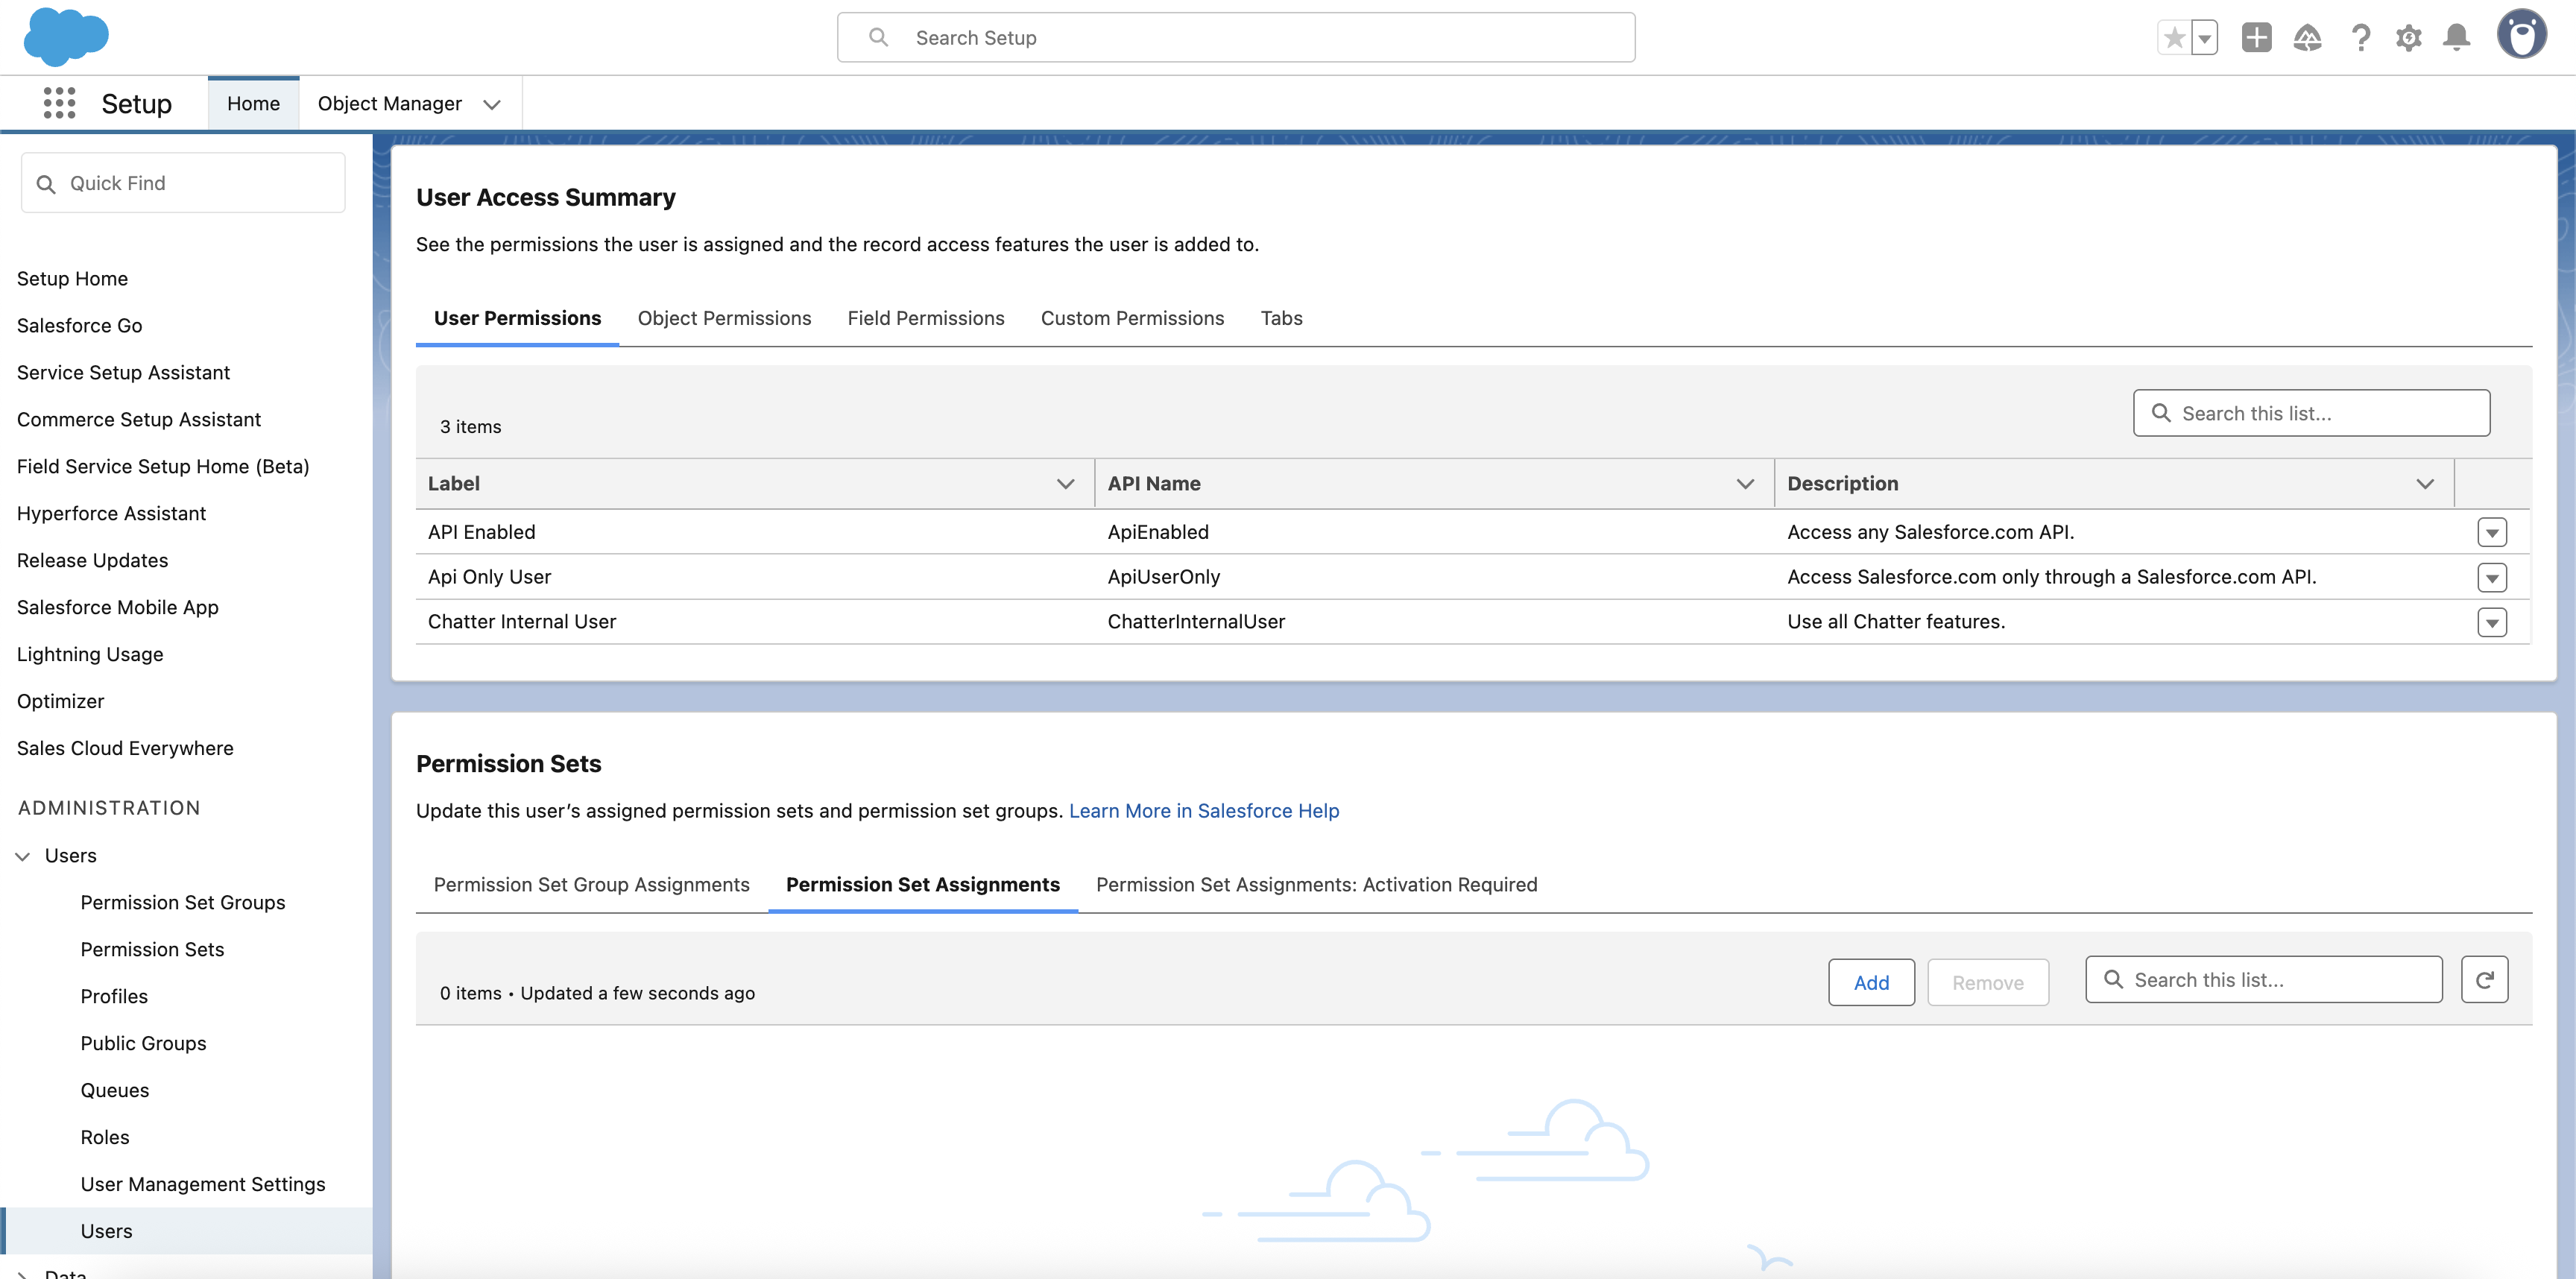
Let’s verify that the permissions are correctly configured.-
Navigate to the User Access Summary section
-
Click on the Object Permissions tab
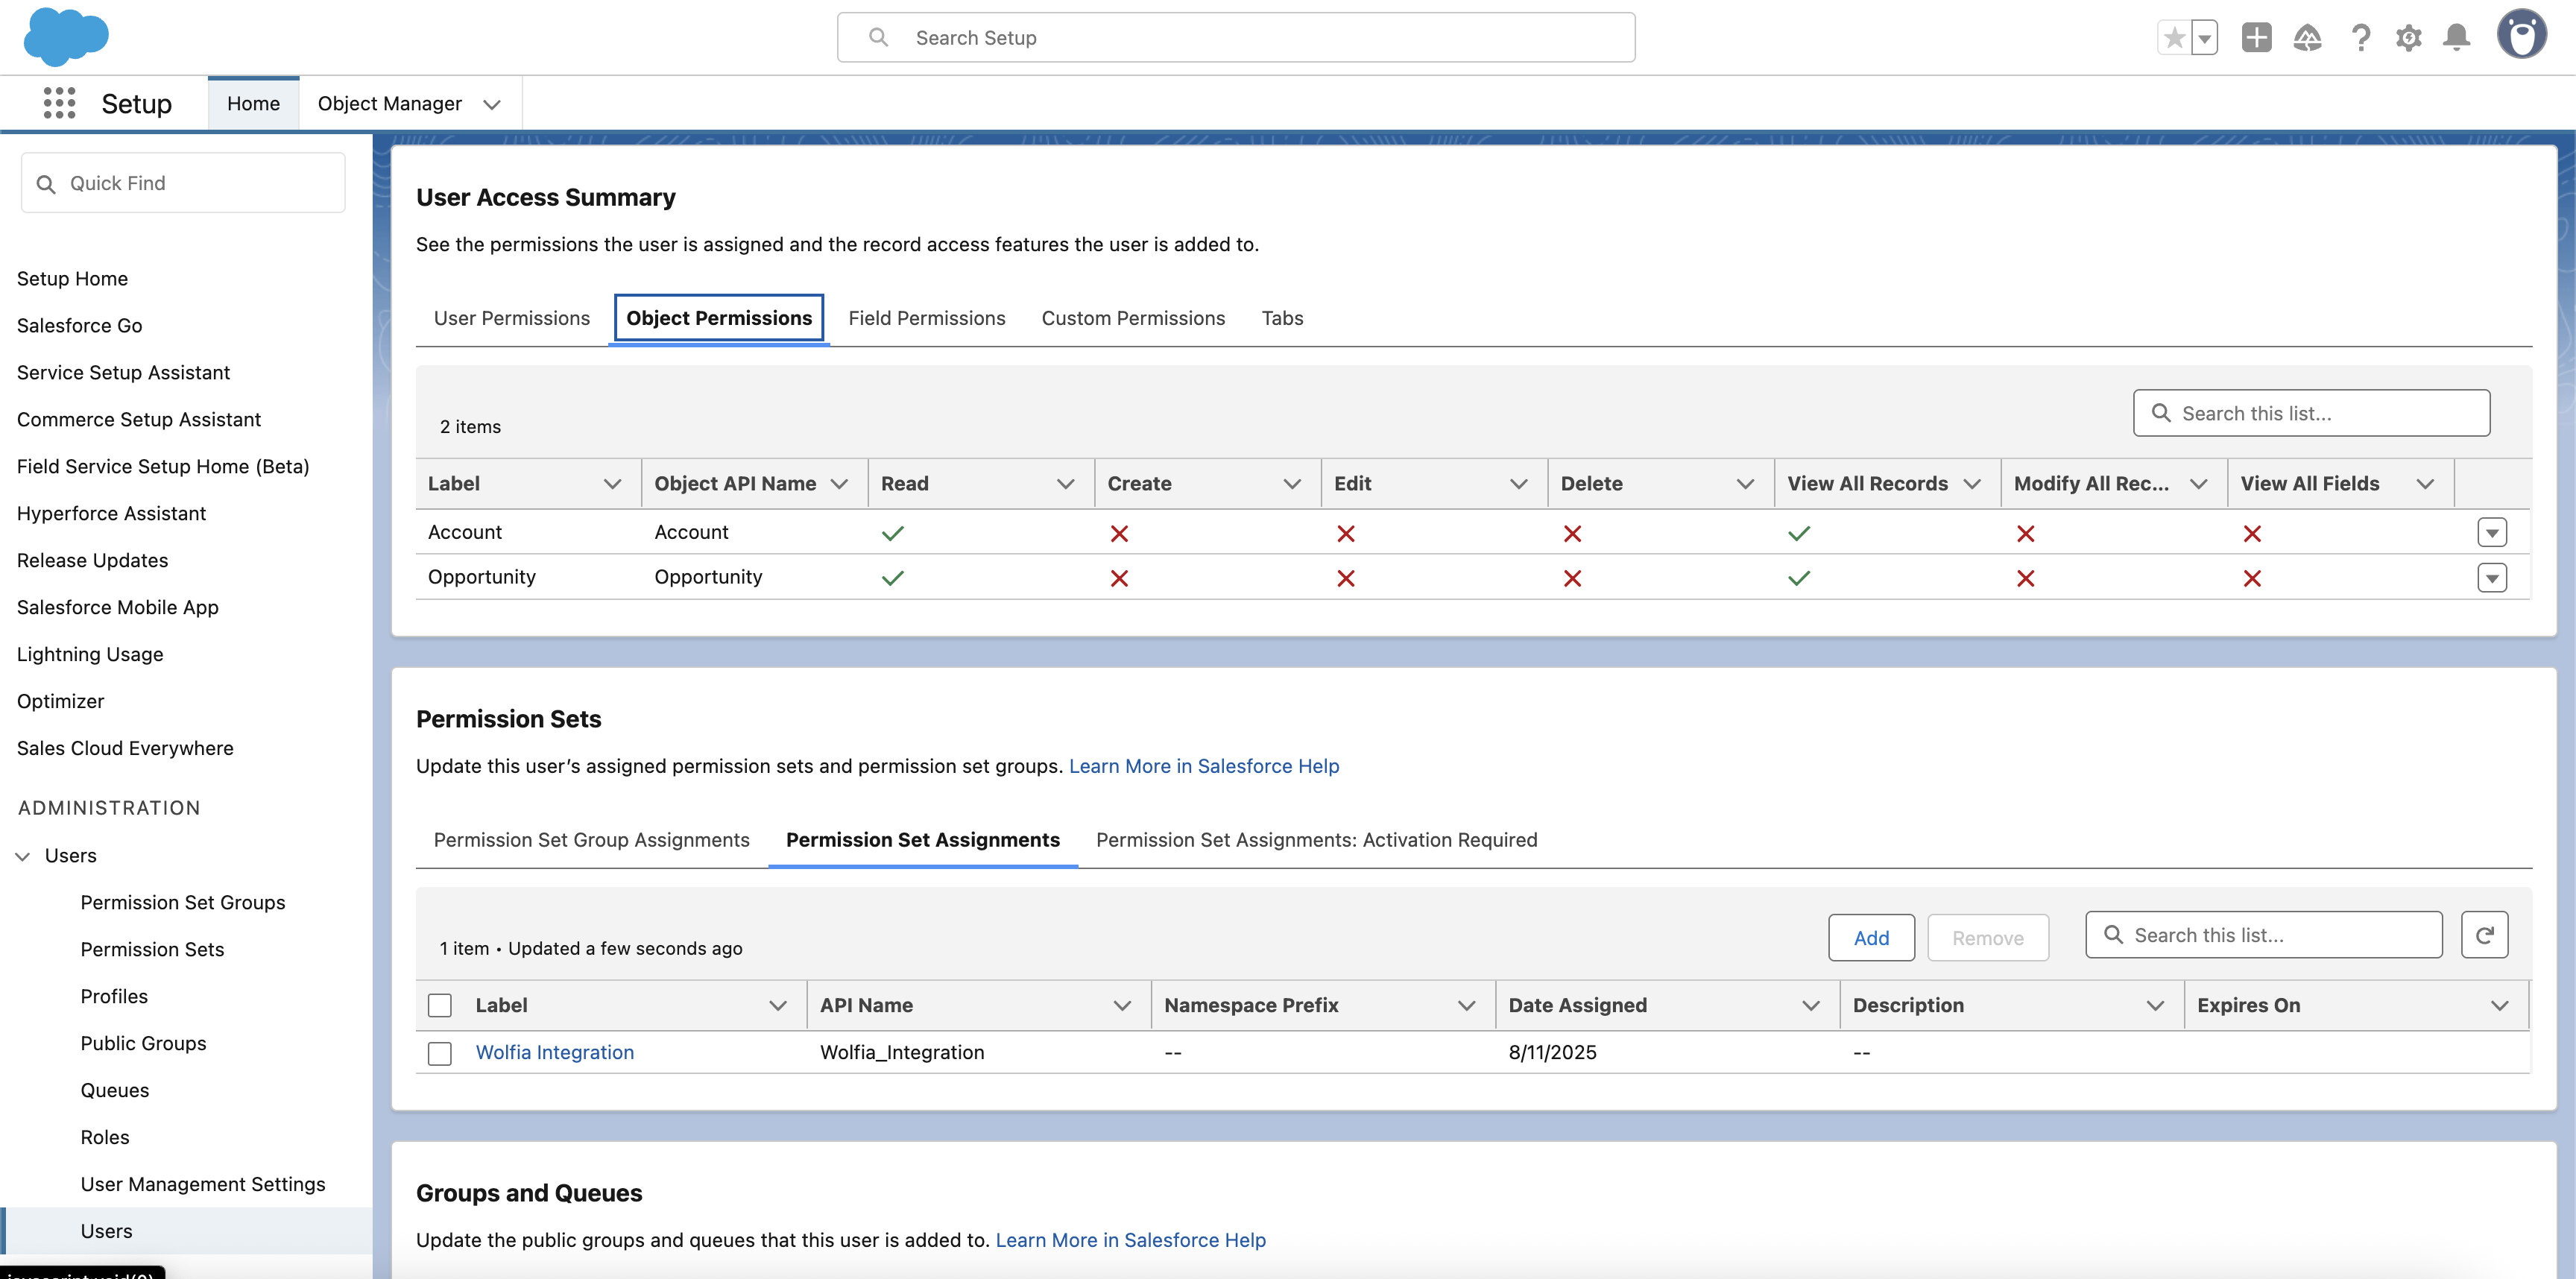
-
Verify that you can see:
- Account with
Read,Create,Edit,View All Records, andModify All Recordspermissions - Opportunity with
Read,Create,Edit,View All Records, andModify All Recordspermissions - Lead with
Read,Create,Edit,View All Records, andModify All Recordspermissions
- Account with
Step 6: Connect in Wolfia
Now connect Salesforce to Wolfia.- Log in to your Wolfia account
- Navigate to Trust Center → Integrations
- Find Salesforce in the list of available integrations
- Click Connect
- You’ll be redirected to Salesforce to authorize the connection
- Sign in with the integration user credentials and approve access
- After authorization, you’ll be redirected back to Wolfia
- The integration will show as Connected and begin the initial data sync
Security considerations
- The integration user has read and write access to Accounts, Opportunities, and Leads
- Enables bidirectional data sync for enriched context and workflow automation
- All data transmission is encrypted using HTTPS
- No delete permissions to prevent accidental data loss
Troubleshooting
Common issues
Connection failed- Verify the username and password are correct
- Check that the instance URL is correct
- Verify the permission set includes “View All Records” and “Modify All Records” for Accounts, Opportunities, and Leads
- Ensure the permission set is assigned to the integration user
- Check that the user profile is set to “Salesforce API Only System Integrations”
- Review the Object Permissions in the User Access Summary
- Ensure Account, Opportunity, and Lead objects have Read, Create, Edit, View All Records, and Modify All Records permissions